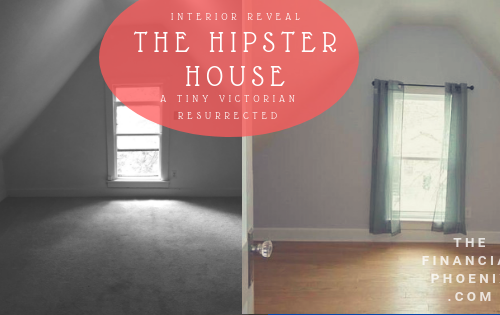
Hipster House Reveal: Tiny Victorian Resurrected (Part 1)
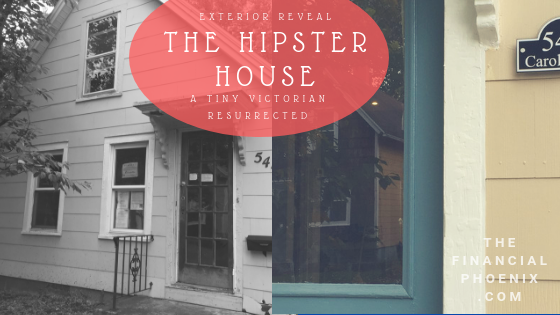
Located in what is considered the “Williamsburg” of our fair city, the neighborhood is full of the young and hip living in old houses. That became the inspiration for the tiny abode; something that paid homage to it’s original life as a modest Victorian cottage but felt updated and hip. Check out the before and after of the exterior.
Disclosure: some of the links below are affiliate links, meaning, at no additional cost to you, I will earn a commission if you click and make a purchase
First we go…Outside
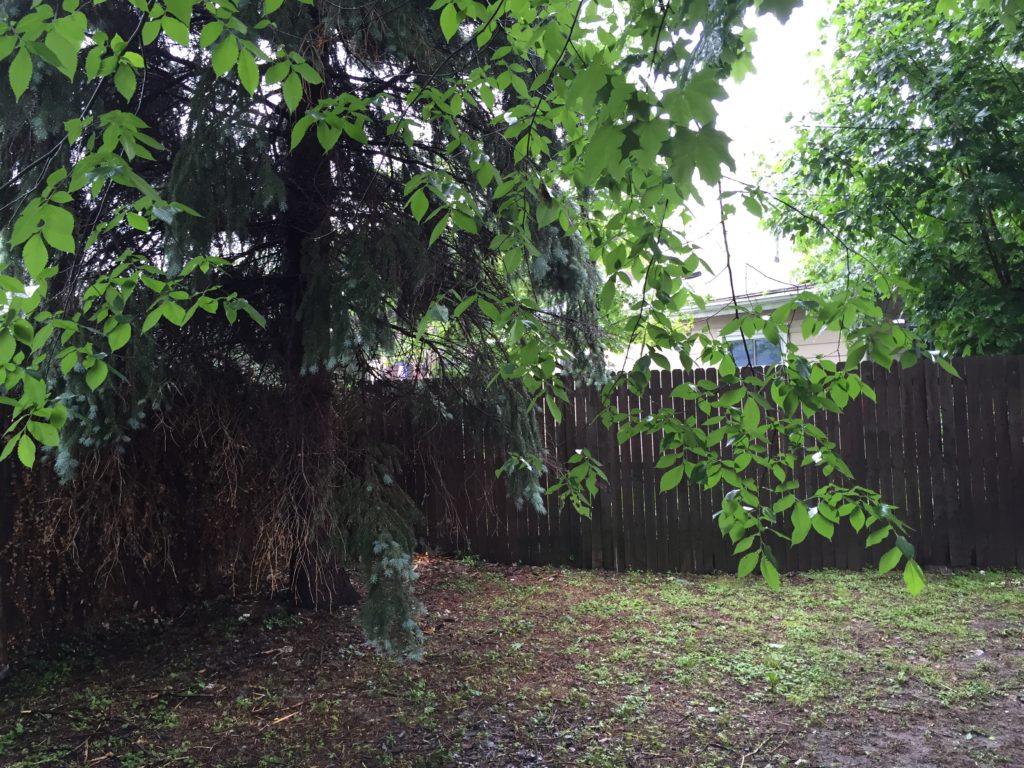
The Backyard
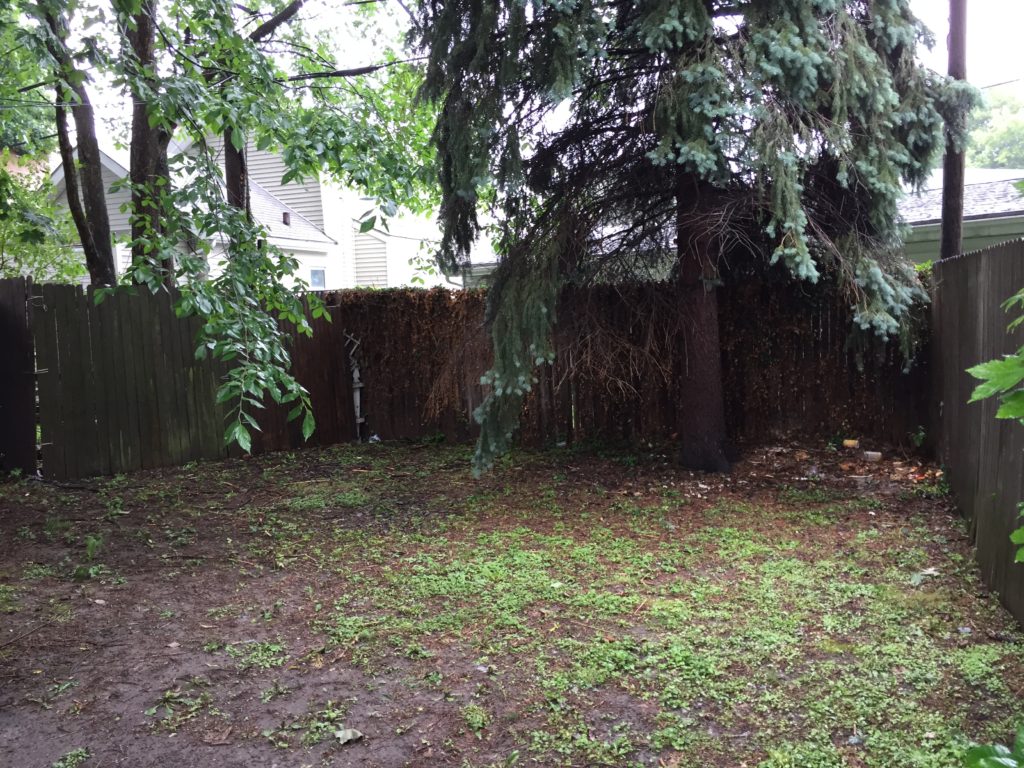
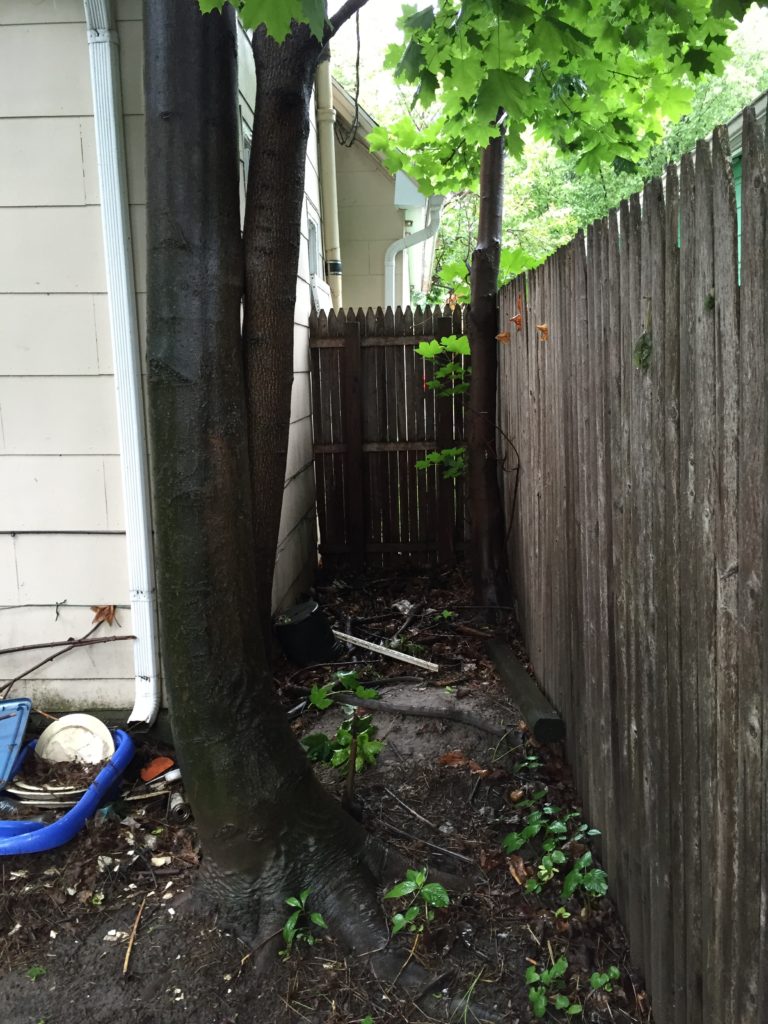
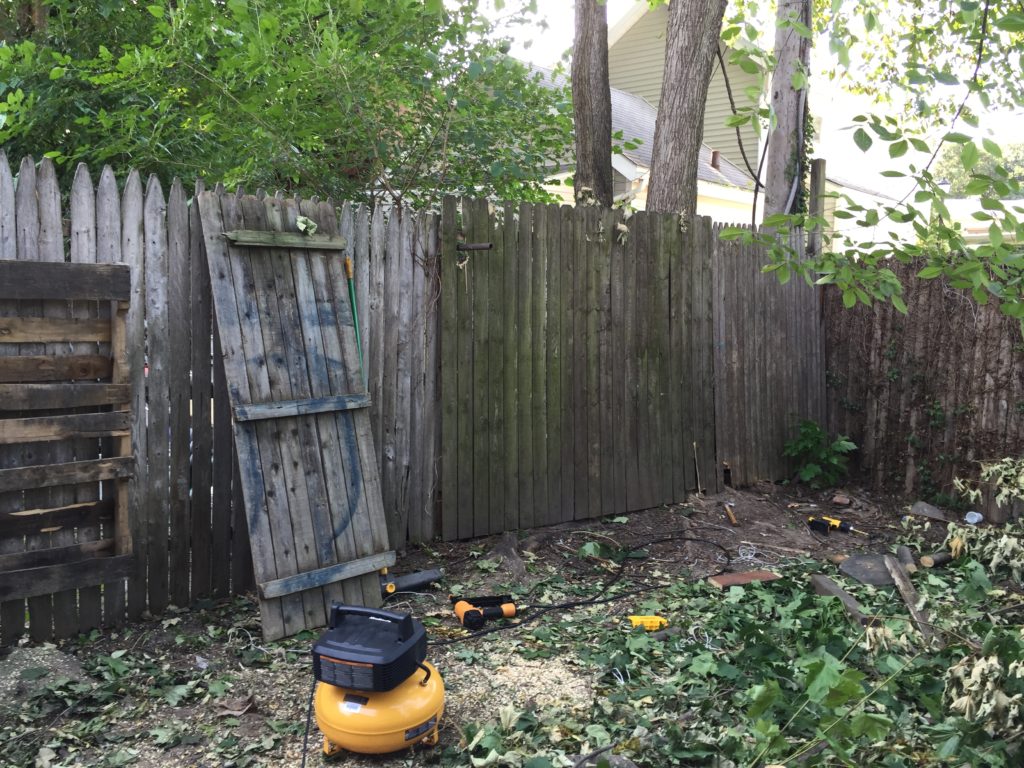
The backyard was gloomy much like the rest of the house. Only about the size of postage stamp it had 3 big trees, one was a ginormous evergreen that made the yard unusable. Nothing would grow and it was dark.
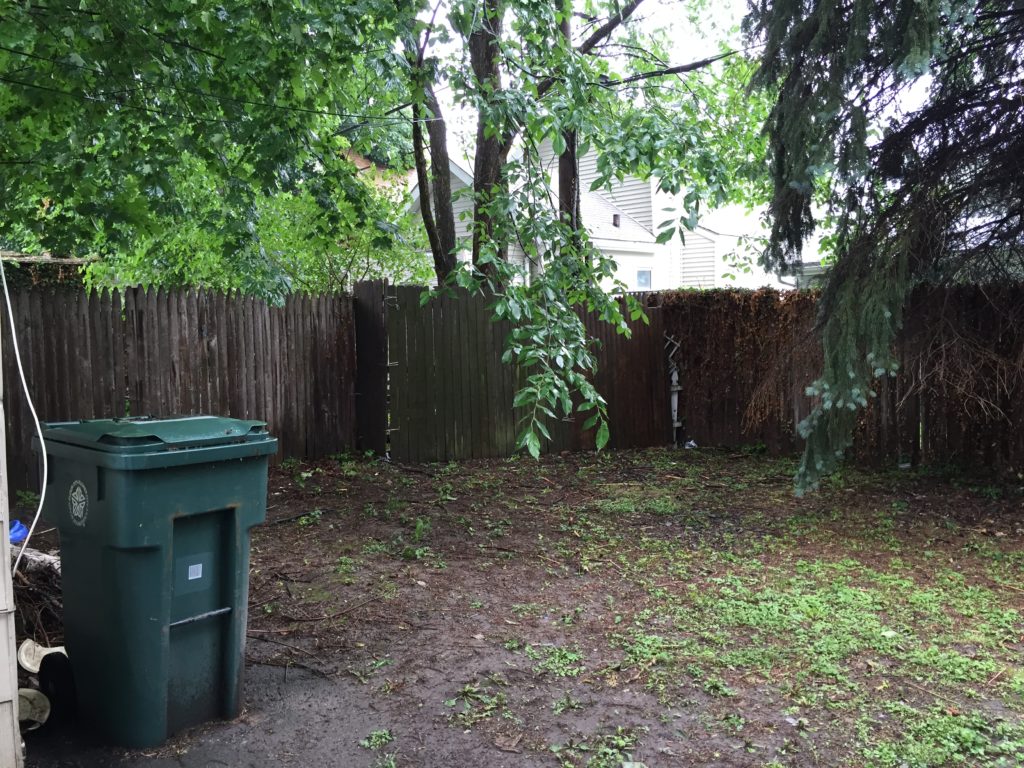
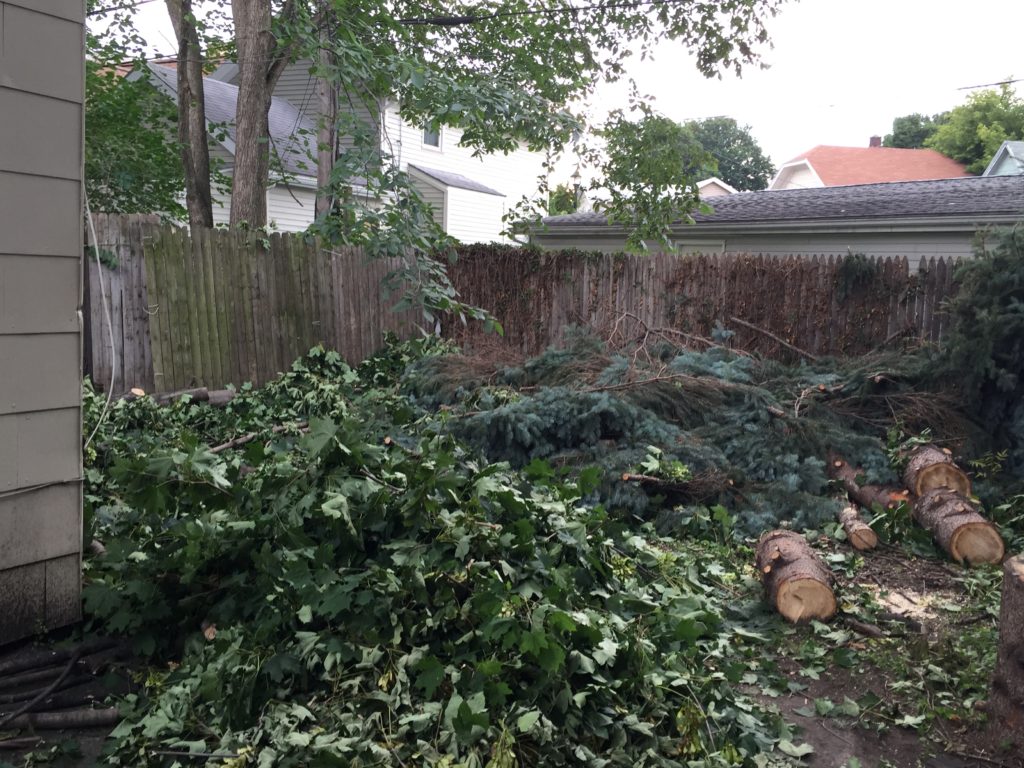
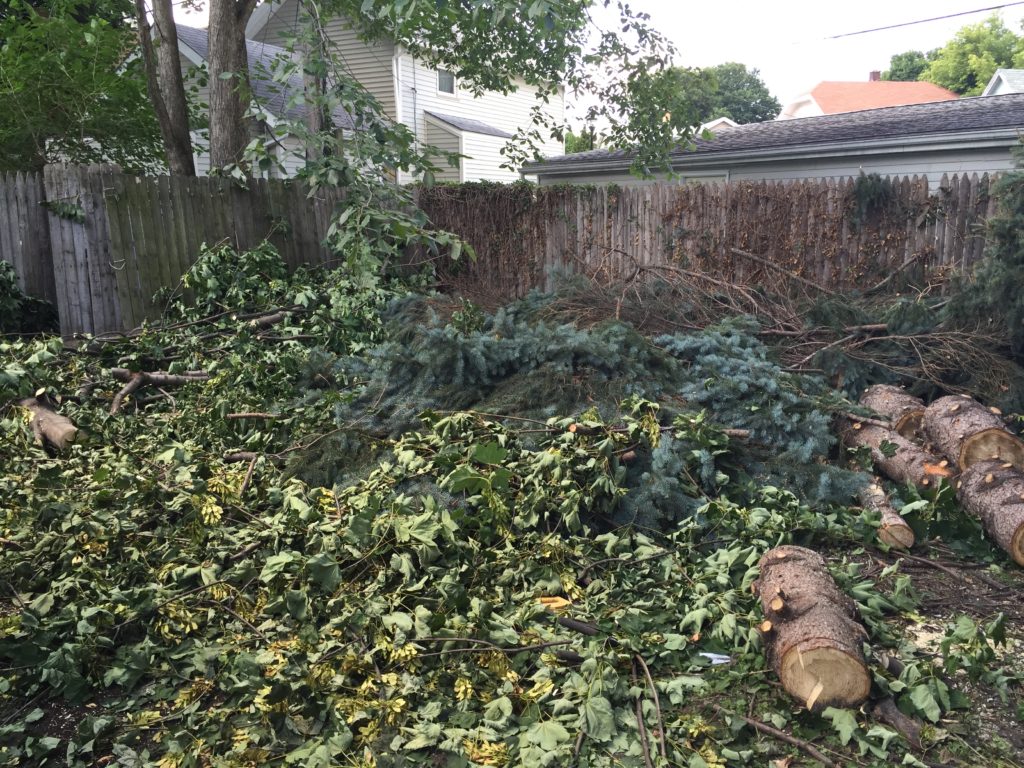
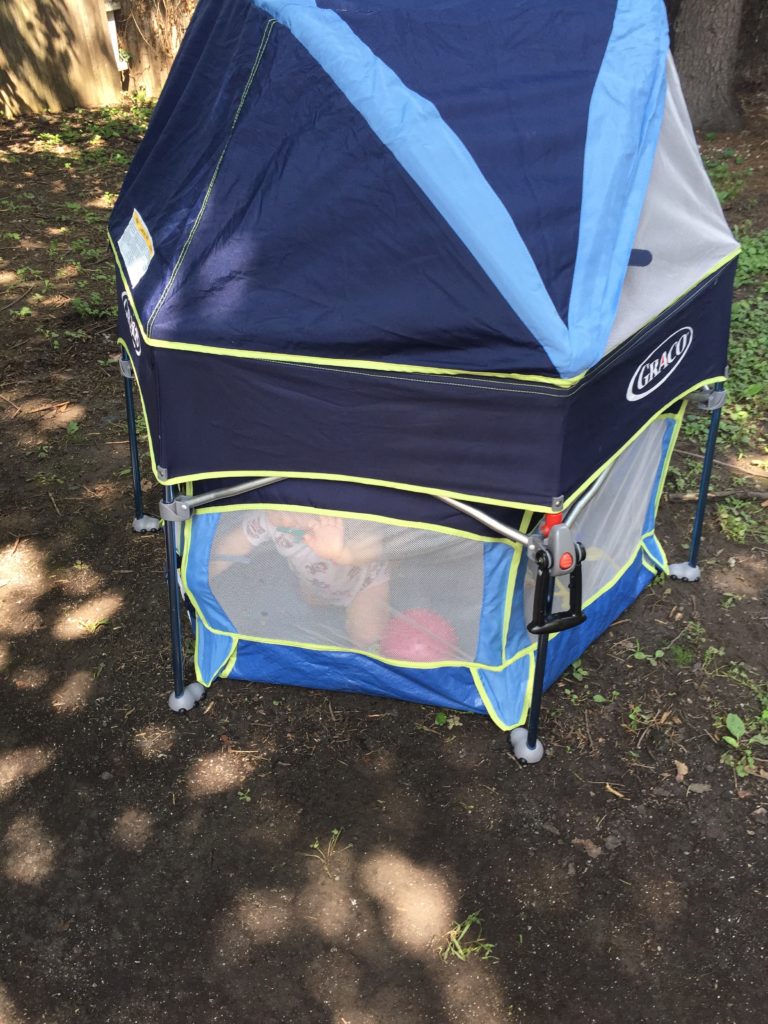
We hired a tree climber to take them down but to save money I agreed to haul away the debris. From now on I’ll pay the extra money to have it hauled away. I spent every Thursday for weeks hauling the branches out the curb and stacking them as high as possible for the city trucks to haul away. I had an infant and a puppy at the time so they “helped.” The baby on my back and the dog tugging at the branches as I tried to drag them out. It was awesome. Not.

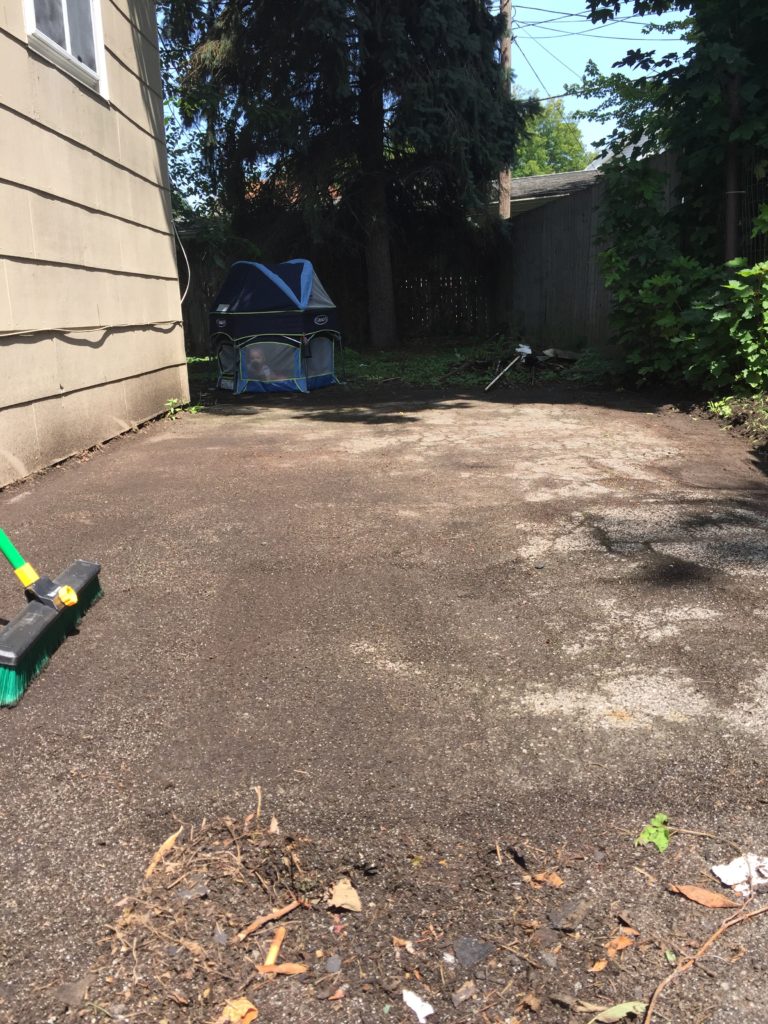
Once the backyard was emptied I planted grass seed with some success although I think the soil was rather acidic from the evergreen.
The What Fence?
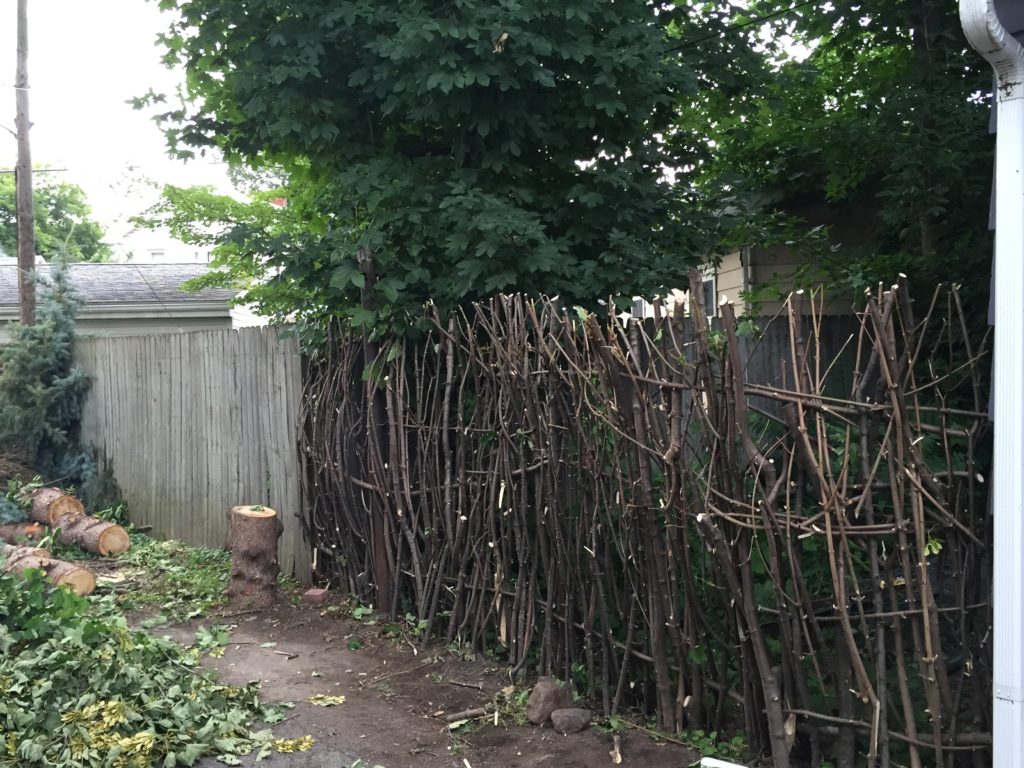
The odd lot meant the backyard actually touched 5 other properties. I had a tight budget, lots of branches and a neighbor’s chicken wire fence that desperately needed to be hidden. I figured this was the perfect opportunity to build a wattle fence. What is a wattle fence? You essentially weave branches to form a fence. Typically the weave would be horizontal but my branches weren’t long enough. This was my first attempt, but I think it turned out pretty cool and served it’s purpose. My husband hated it but I’m definitely keeping this in mind for future projects.

Given the typical buyer in that neighborhood and the small backyard I wanted to create a flexible outdoor space. The driveway encompassed the entire right side of the property between my house and the neighboring house. My solution: a movable “fence” and gate across the driveway. This effectively made a fully fenced yard (with the assistance from the wattle fence) that could contain a dog (I tested it) while still allowing easy access to extra parking if needed.
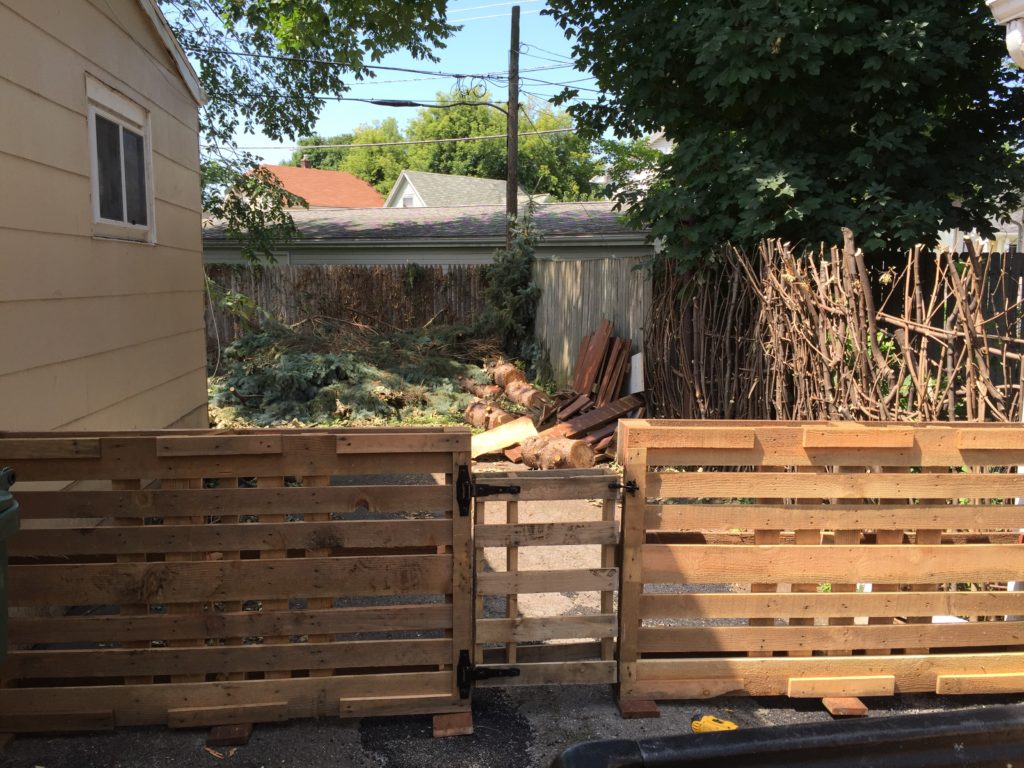
The fence was made out of pallets I sourced from a distribution center for free. They were large, heavy duty, hardwood pallets. All I did was add some scrap pressure treated lumber as feet and attach a pallet with some gate hinges. Total cost was about $12 and I didn’t have to worry about property lines!
The Entrances
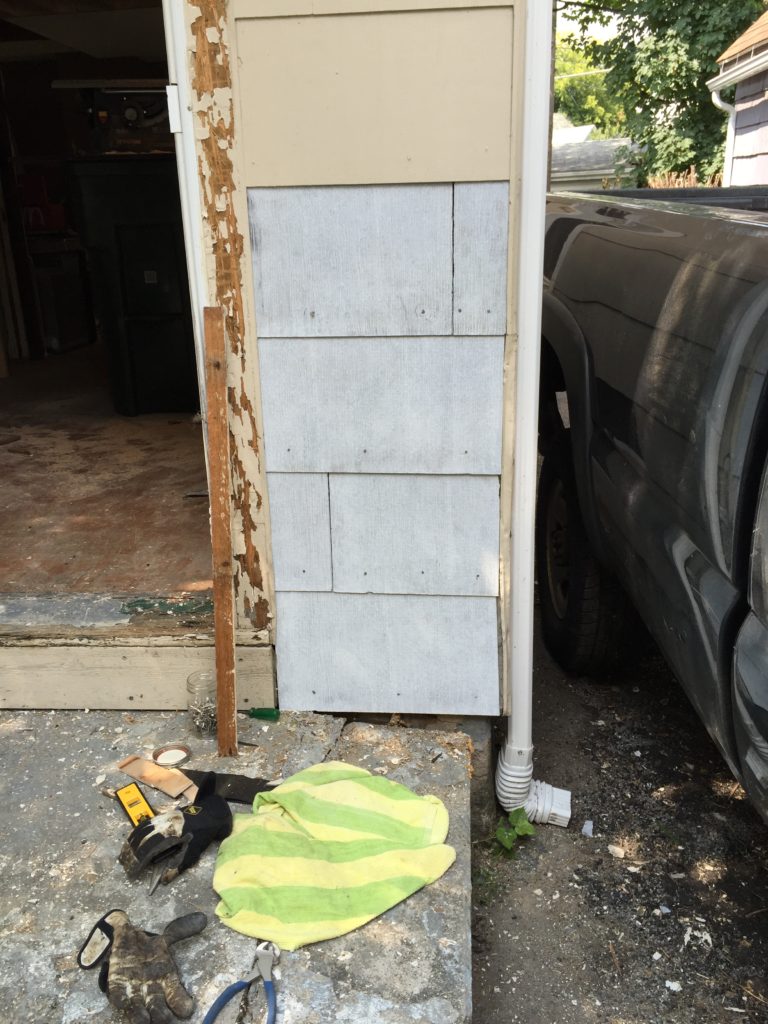
The side door was ugly; an old steel door with a bunch of screw holes and dents from when the bank secured the property. The framing was complicated (I can’t remember why) but I remember contractor after contractor walking in looking at the door and telling me they didn’t want to replace it because it would be too much work. So I patched the holes with Ready Patch painted and the door and had the interior re-trimmed. It didn’t look perfect but it made a huge difference. Apparently I never took a picture to show just how awesome it turned out so instead you can look at the ugly before picture.
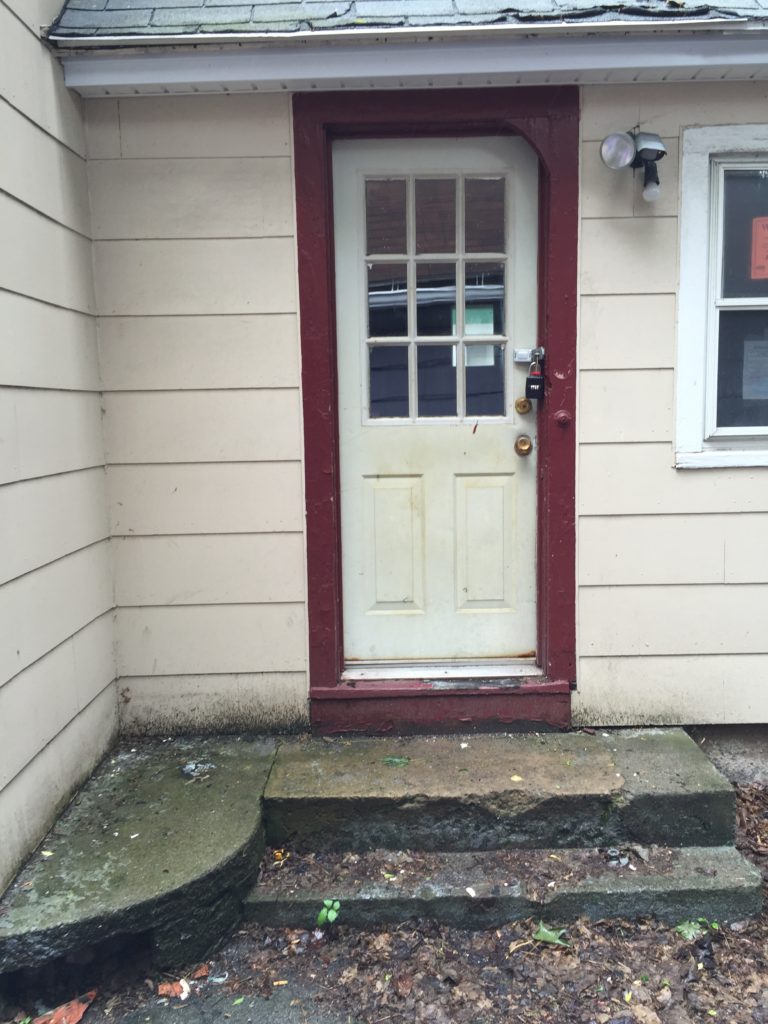
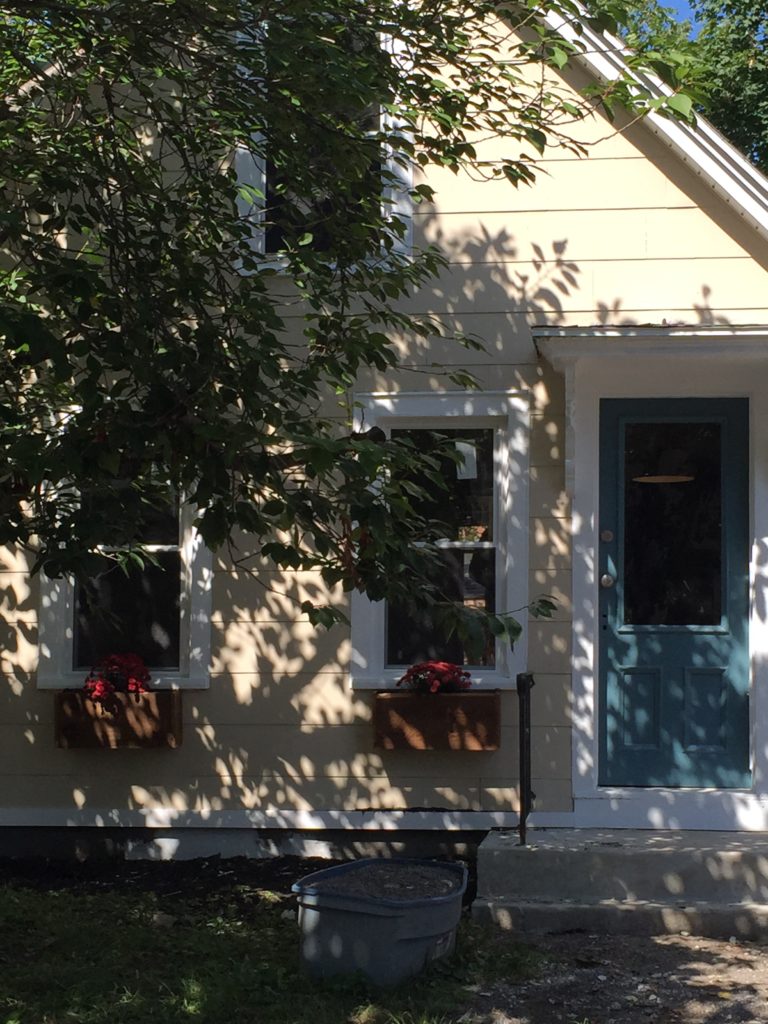
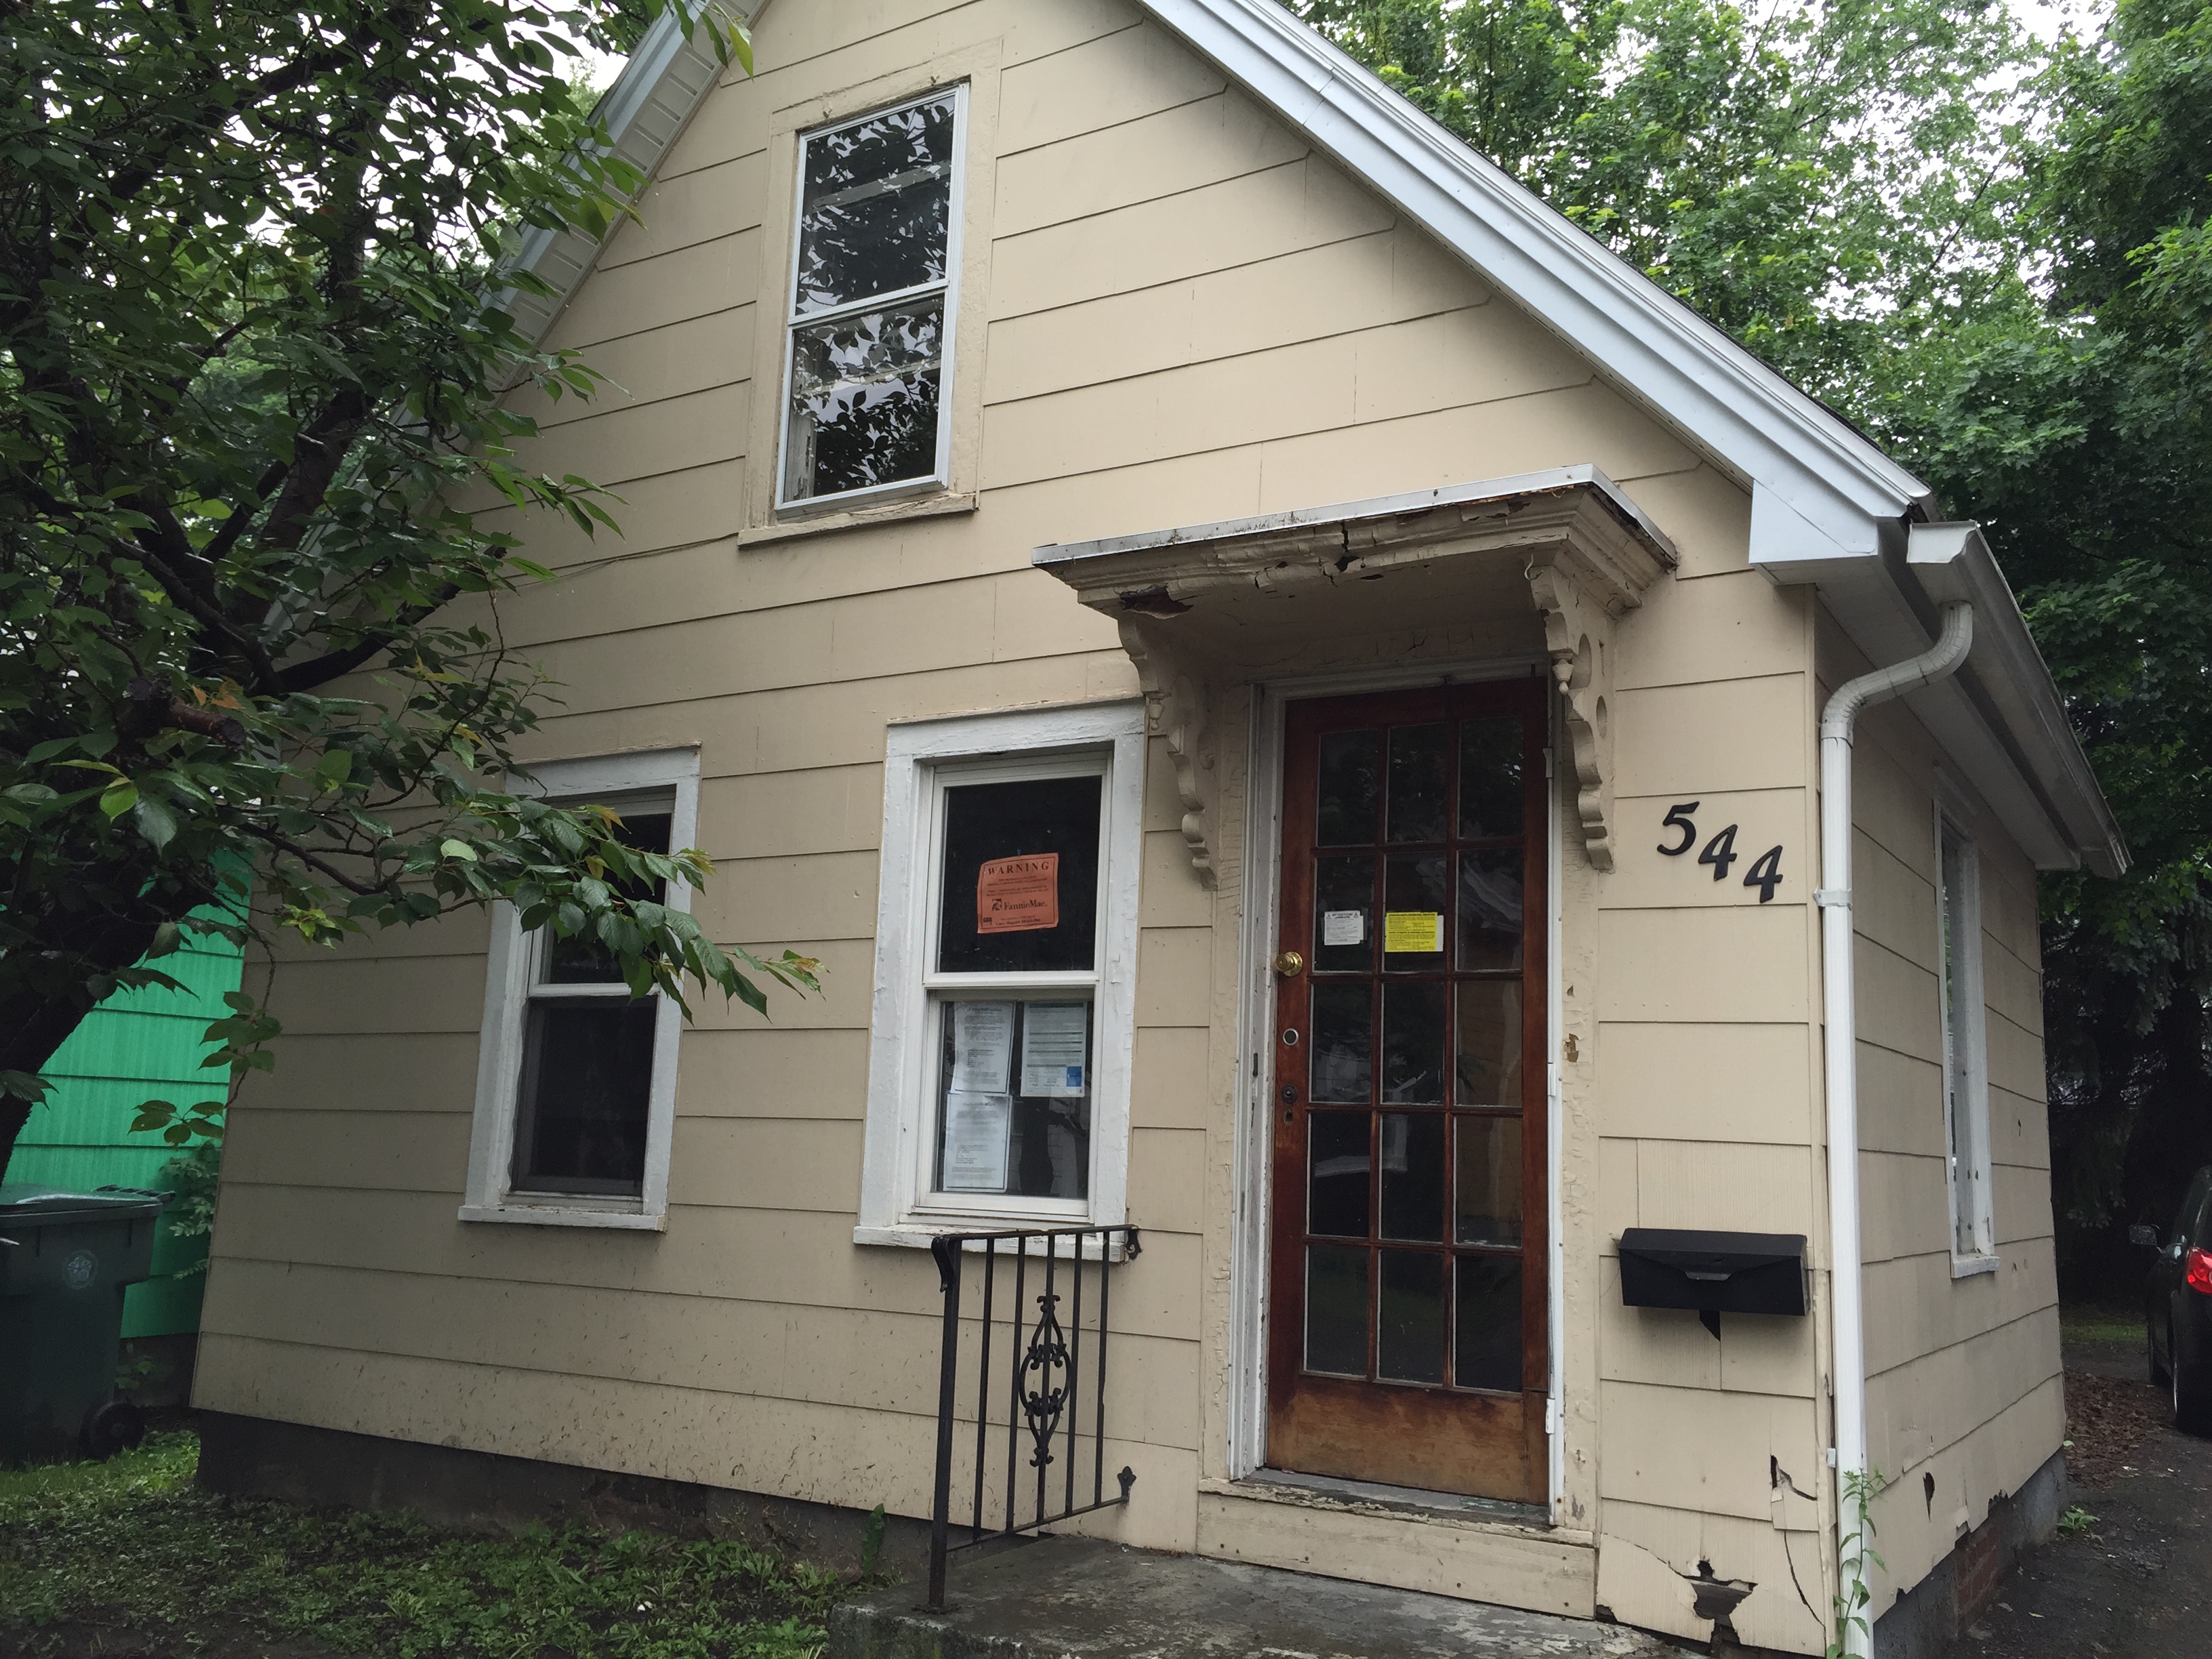
The front door was badly damaged and not likely the original. It was almost distracting when looking at the front elevation. I found a fabulous salvaged door for something like $25 that needed new glass. Yet again these guys walked through and told me they hate working with old materials and weren’t going to bother with the job. So annoying. I finally found carpenter who was willing to take it on. Below is the before.

Doesn’t the house looks so crummy? The broken siding, the trim. It’s just drab and sad.
Tying it all together
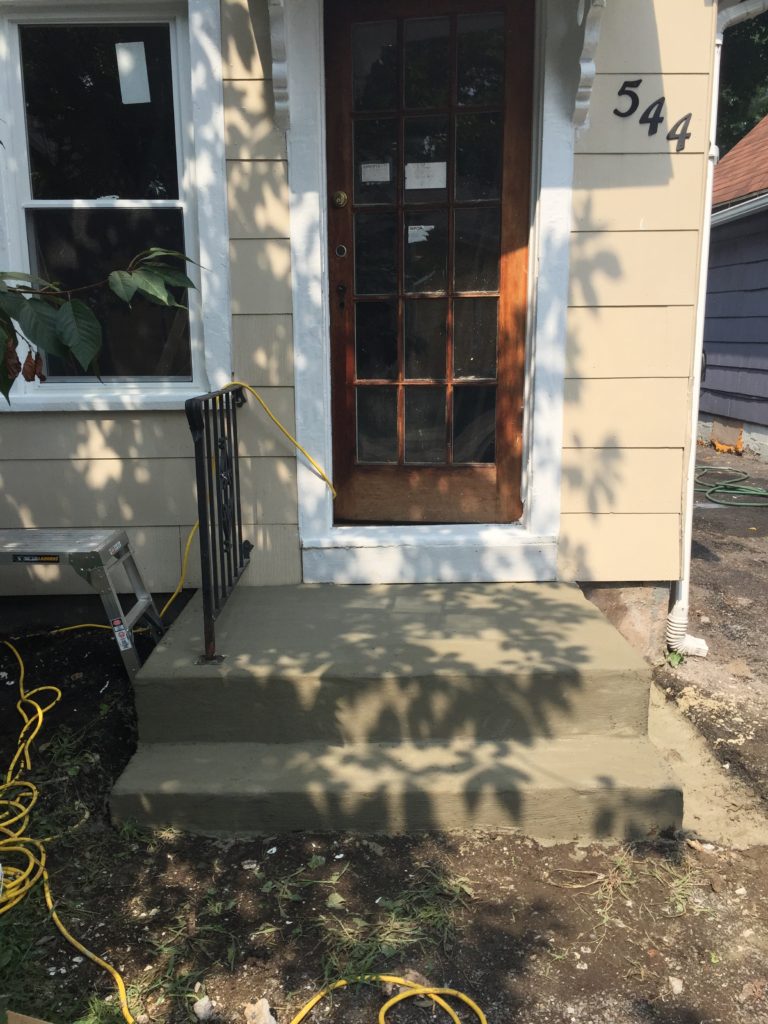
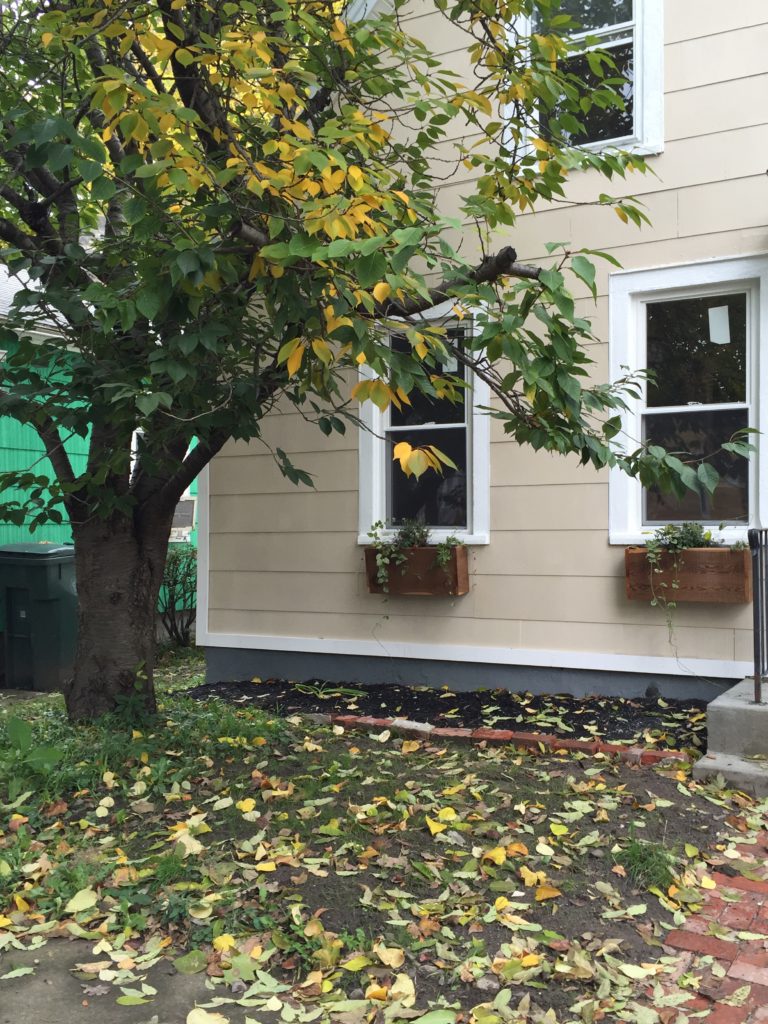
With the side door repaired and both sets of steps resurfaced the rest of the crummy looking exterior really became apparent. The siding was broken and filthy, the front sidewalk was screaming for help, and many of the windows were missing or in terrible condition. Don’t worry ye olde window lovers, I saved all the ones that were salvageable.
We replaced the broken siding and had plans to color match the paint after power washing and scrubbing the old siding. Unfortunately we got the color match close but not perfect. Instead of little touchups we repainted many more siding tiles than we anticipated. It was rather tedious. The trim also all got a fresh update with peel stop and then clean white paint.
The bottoms row of siding had many spots that were chipped or broken on the front and driveway side of the house. We decided to add some PVC trim to cover up the damage and prevent future chips from garden tools or car doors striking the siding. It looked so great that we then decided to add some vertical trim to the corners to protect the corners and visually frame the house.
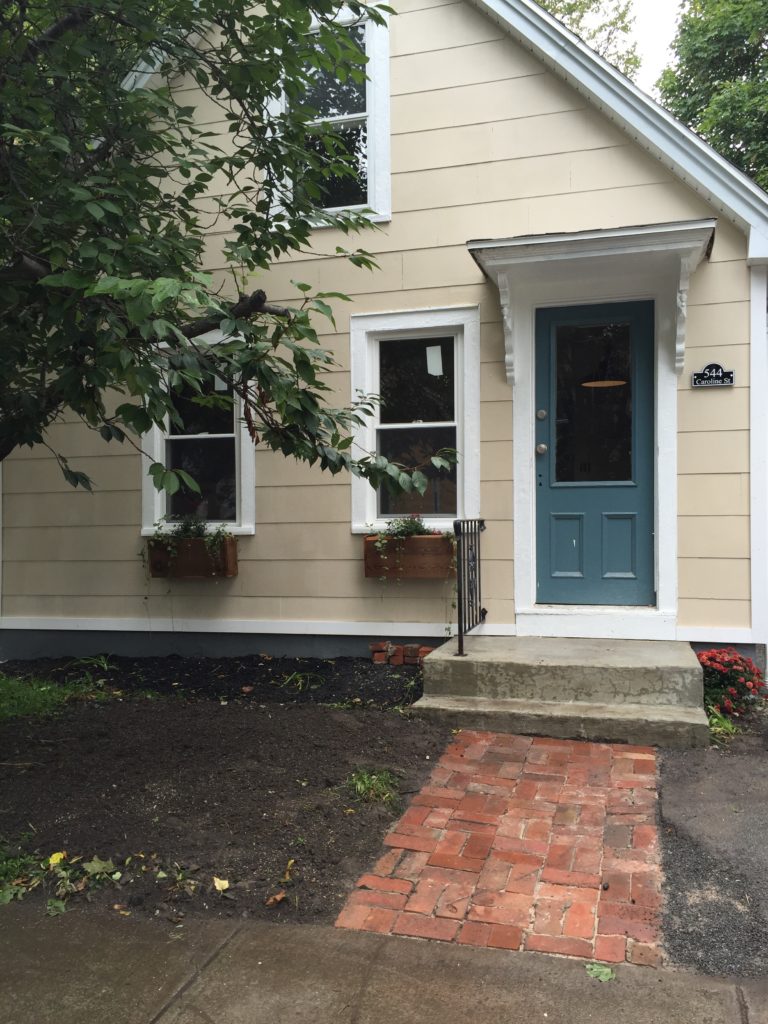
Check out the salvaged brick walkway. Now I live in a region that sees a fair amount of snow. I know practically speaking a brick sidewalk is not the wisest choice however it is a short and I think it made the curb appeal for house.
….just thinking I must be a glutton for punishment. I remember picking up those bricks from a Craigslist post on a really, really hot day. They were free but they cost me dearly.
The Whole Picture
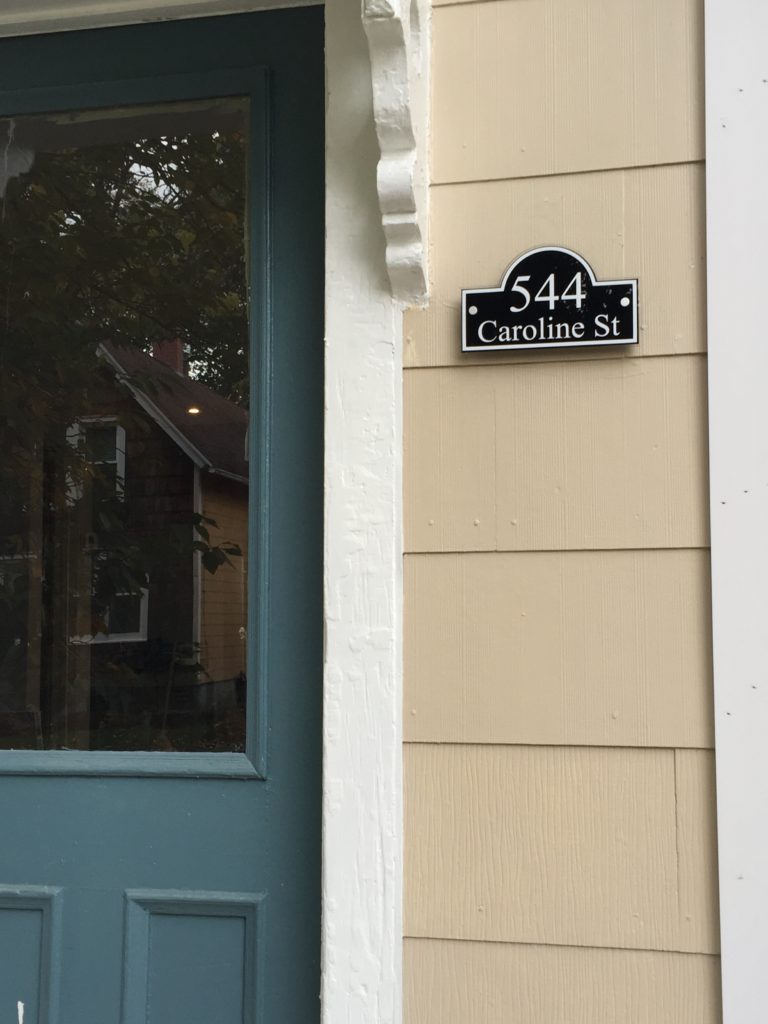
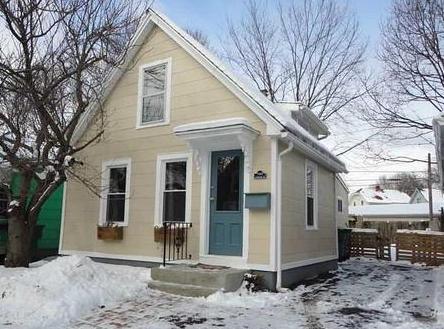
The front entrance just warms my heart. The new (old) door, house numbers, and brick sidewalk just exuded charm. The plaque was made in England and purchased off eBay. Made from acrylic and mounted on pegs keeps it modern while the shape and font are classic. I love it. Love it.
What do you think? Charming. I had a love hate relationship with this house. It sucked up so much time and money but I adore how it turned out. Now you actually take note of it’s original charm and character. Let do one last quick visual comparison:
Tell us what you think below in the comments and check out the interior reveal!
[ctct form=”4″]


You May Also Like
Sweet Stencil Wall

Stunning Painted Floor