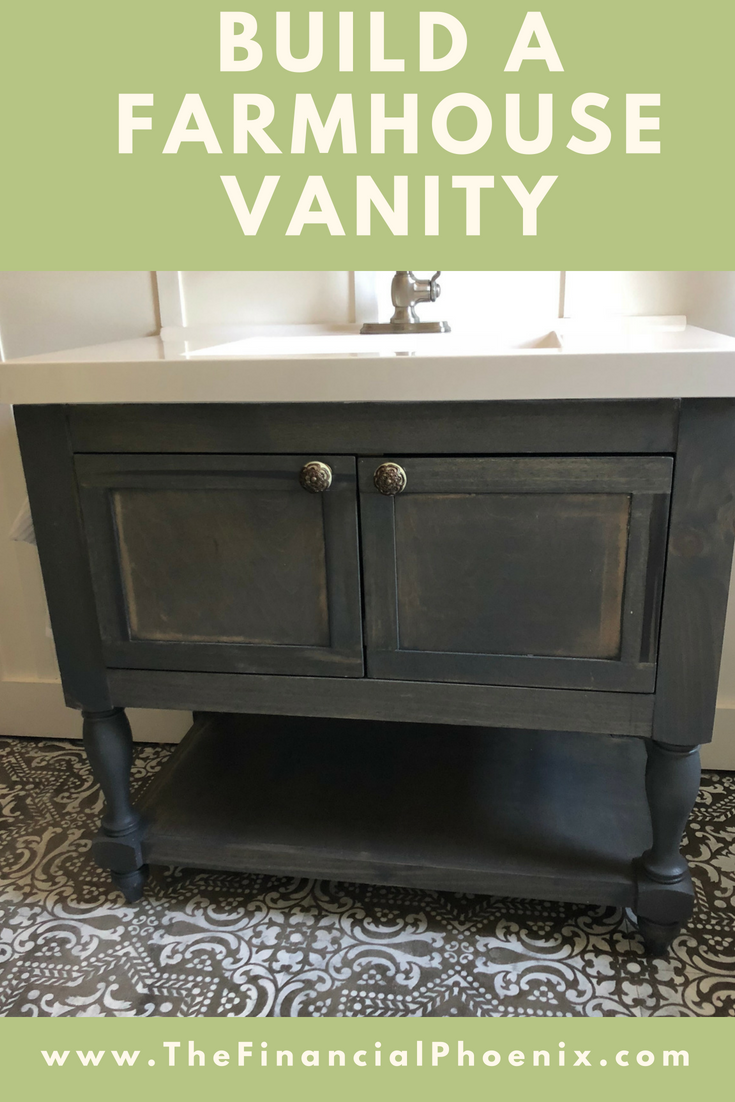
DIY Farmhouse Vanity
I love the look of furniture vanities and how they 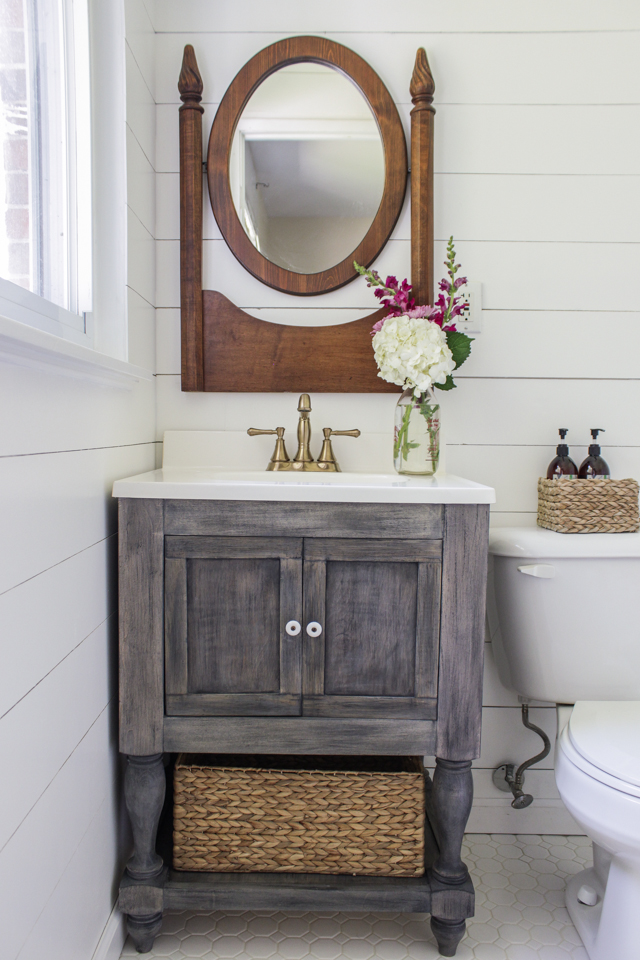 allude to the past of dry sinks…however a solid wood vanity was just not in the budget and custom is more my style anyway. Enter this darling farmhouse vanity.
Fortunately for me (and you) Ana White always
has a plethora of awesome, easy to build plans on her website. With only a quick search on her site I fell in love with this plan for my girls bathroom via Shades of Blue Interiors.
Isn’t it sweet? I also love the repurposed mirror above the vanity.
Disclosure: some of the links below are affiliate links, meaning, at no additional cost to you, I will earn a commission if you click and make a purchase
Anyway…onto my rendition of a farmhouse vanity.
For the top I was able to pick up this counter with integrated sink at our local re-store. Although I would love a marble top with an undermount sink- easy to clean (i.e. no crevices) and durable were a priority for a bathroom that was going to be assaulted by two little girls.
Haven’t heard of re-store? It is a retail space that sells new and used building supplies and furniture to support Habitat for Humanity.
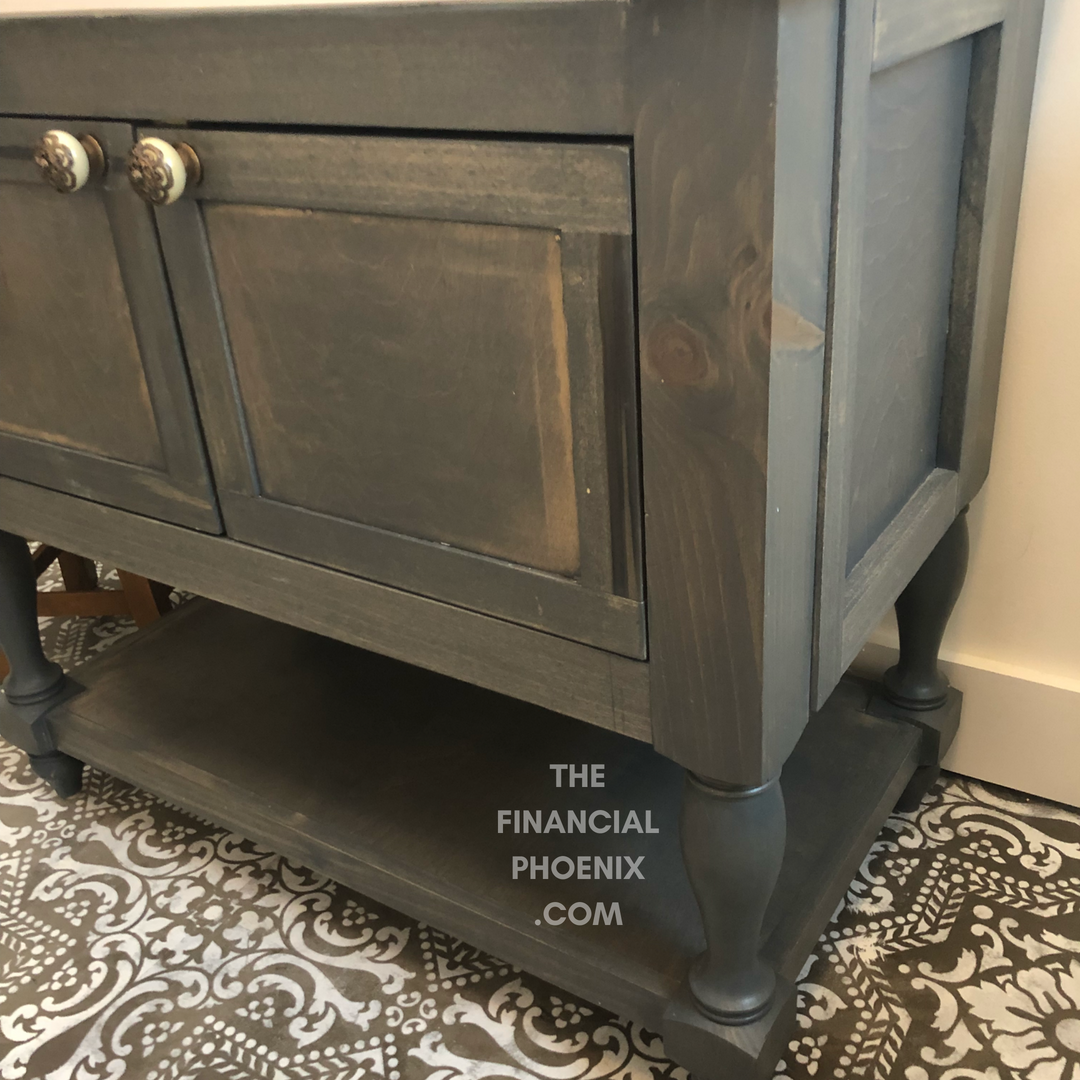
I modified the plans to fit the sink by making it wider. Isn’t it so simple and gorgeous?!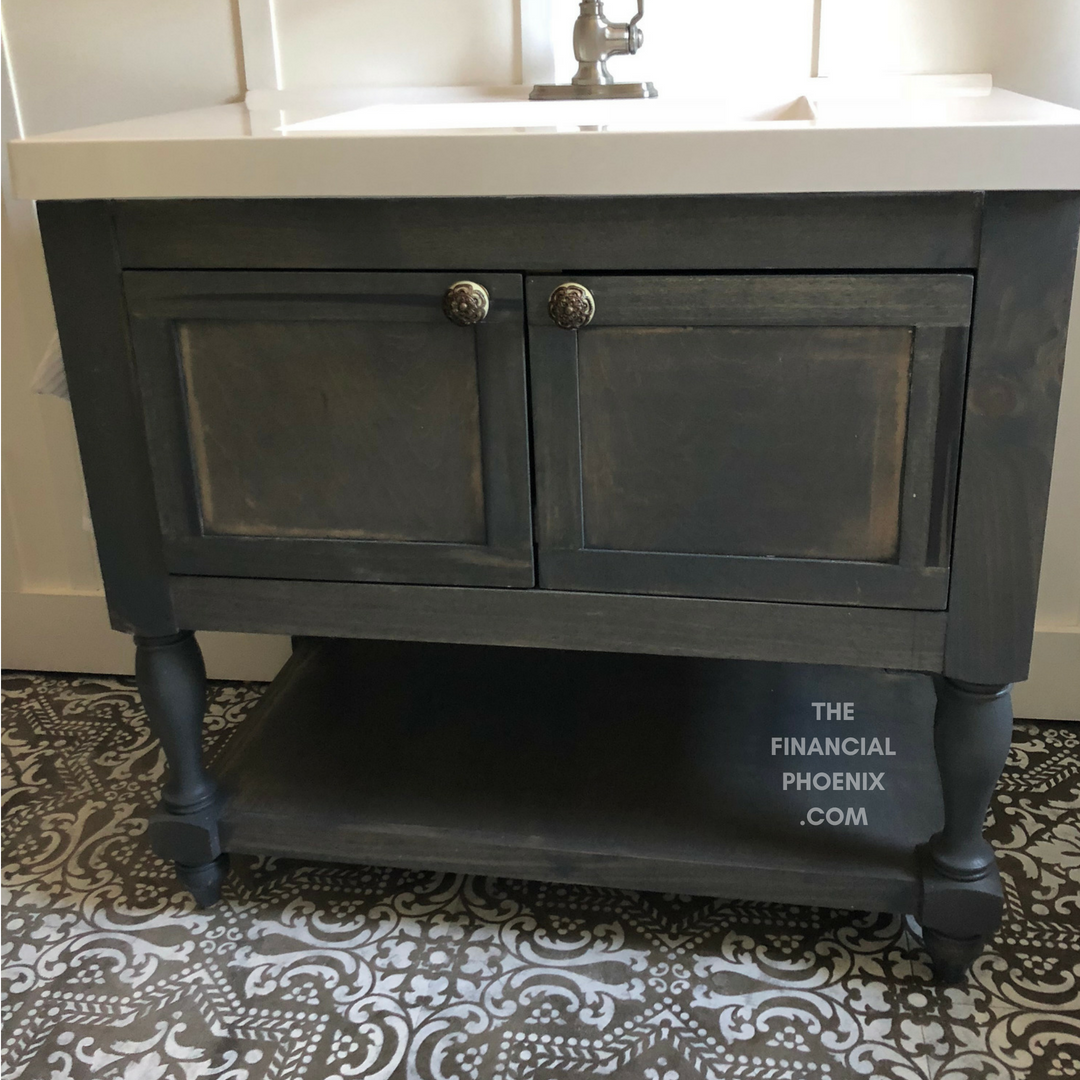
As recommended in the plan, I got the legs from Osborne Wood.
They shipped pretty quickly and arrived undamaged and looking beautiful. The first step was to cut the length down (which was slightly terrifying since I couldn’t just run to the store and pick up some more). Fortunately the old adage measure twice and cut once paid off.
measure twice and cut once
This farmhouse vanity was surprisingly easy to assemble and I really only needed assistance to cut the sheet of plywood. I think the most difficult part was cutting the bottom of cabinet to match the legs…my measurements must have been a little off so there are some gaps that I filled in after it was assembled. Fortunately it is not really anywhere noticeable.
The door frames and hinges are made from poplar 1 x 6s ripped down- a stellar recommendation from my lumber yard. They stock this instead of pine and recommend the 1 x 6 (instead of 1 x 2) to minimize warping when stored.
The hinges were more difficult than I anticipated. We used blum soft close hinges and it took a couple trips to my local woodcraft to get the right mount. Watch for my review on blum hardware.
The Finish
The stain is the same stain we used with on our kitchen island.
I was initially disappointed in the depth of the color, I was hoping for more of the grain showing but now that it is all complete I am happy with the result. If you look closely you can see some of the black grain from on the poplar which I love.
I got the knobs off eBay. Cute, right?
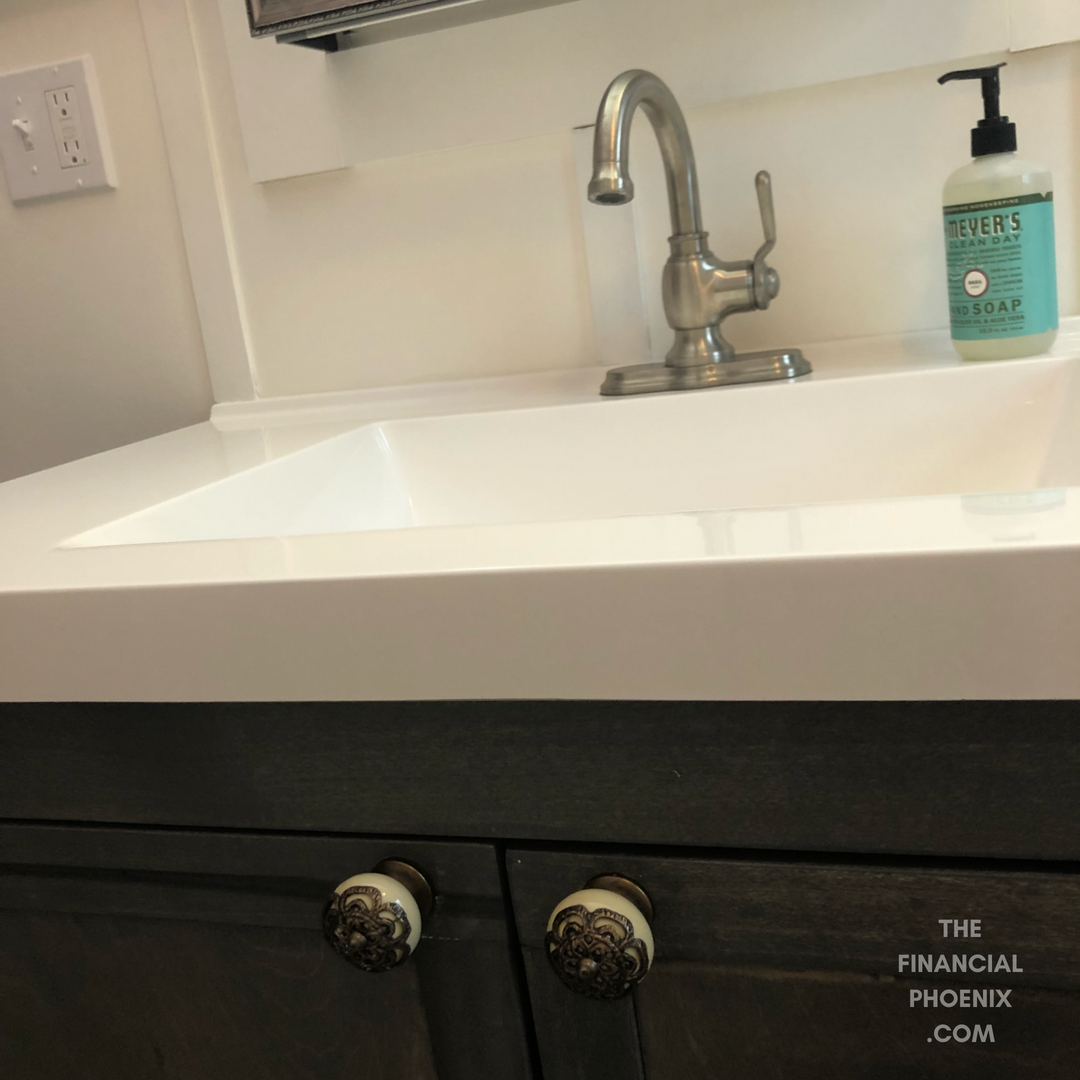
So how much did it cost?
Legs: Just under $160 with shipping Ply: Scraps...free!Vanity Top: $60 Knobs: $9 Stain: $15 Grand Total: $244
Don’t want to build it?
Here is a similar style from wayfair.com for $1099.99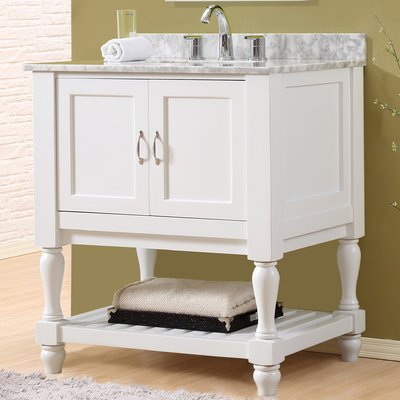
Tell me what you think!
Want to know how I did the DIY Painted Floor?
Board and Batten Tutorial (upcoming)
In case you missed it my husband and I completely rebuilt a long neglected 1934 cape. The adventure is going on a year and counting but we are loving our life as a family in this house. You can read all about how we ended up with the worst house and made it into our dream home.
[ctct form=”4″]


