DIY Hopscotch Mat
We created an awesome outdoor hopscotch mat from a linoleum remnant and some free paint!
Disclosure: some of the links below are affiliate links, meaning, at no additional cost to you, I will earn a commission if you click and make a purchase
The deck is an L shape with one of the branches narrower than the other. I decided this was the perfect location for a hopscotch mat for the girls and it turned out adorable! Read on to see how we did it.
Supplies:

Linoleum remnant

Utility Knife

Paint (2 colors)

Roller or brushes

Squeegee with teeth cut

Total time: 2 hours

Total Cost: About $20
Step One: Measure and Cut
I picked up a huge linoleum remnant from one of my local bog box stores for only $5/linear foot then I cut off a section that was about 12′ x 4′. To cut the section I simply flipped it over and went along and marked 4′ from the edge approximately every 2′ then connected the marks to give me a guide when I made my cut. A long straight edge like a 2×4 would have ensures a cleaner cut but I, of course, like the imperfect edge.

Step Two: Paint it
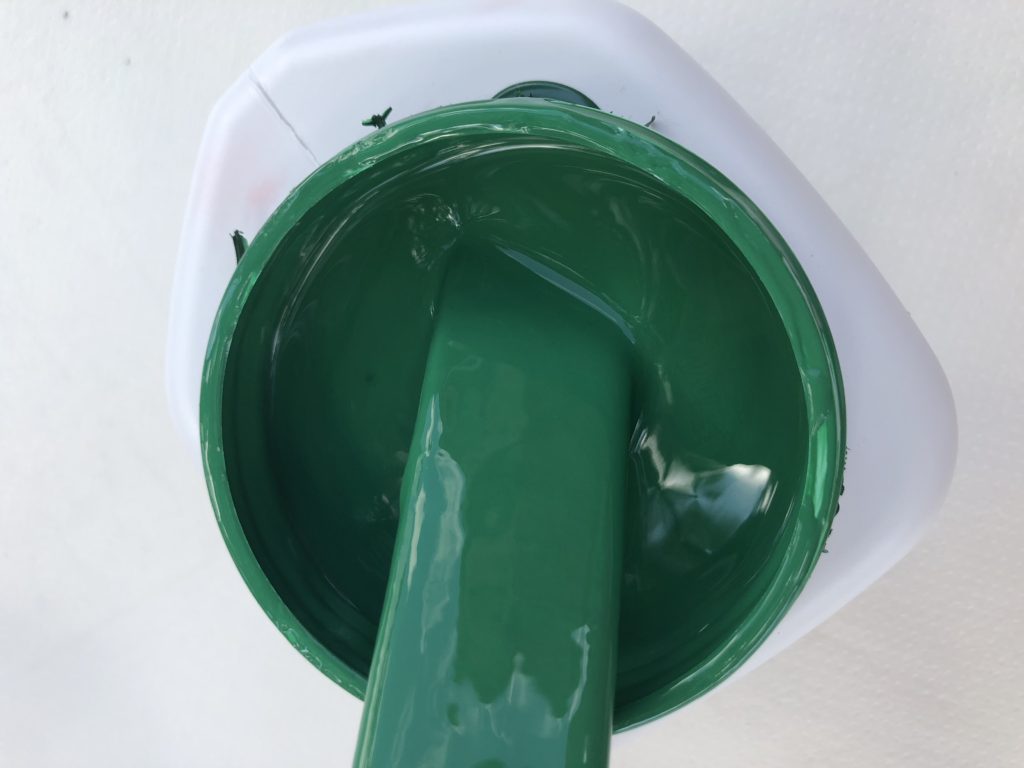
I love mistint paint; it is an invitation to be creative. The paint we used for this was free from the mistint section at one of my local stores. Free. How awesome is that?!
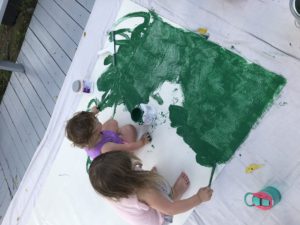
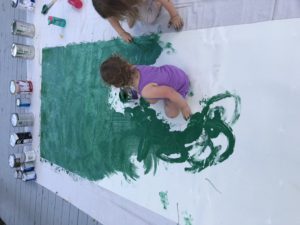
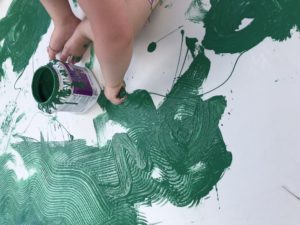
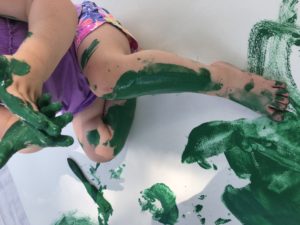
I let my girls “help paint.” They thoroughly enjoyed making a mess spreading the paint on the back side of the linoleum. First they spread and “painted” in non-methodical globs. Then I came after them and spread it around with the squeegee to give more texture, depth, and even out the paint mountains.
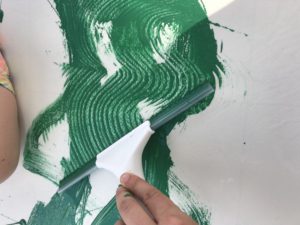
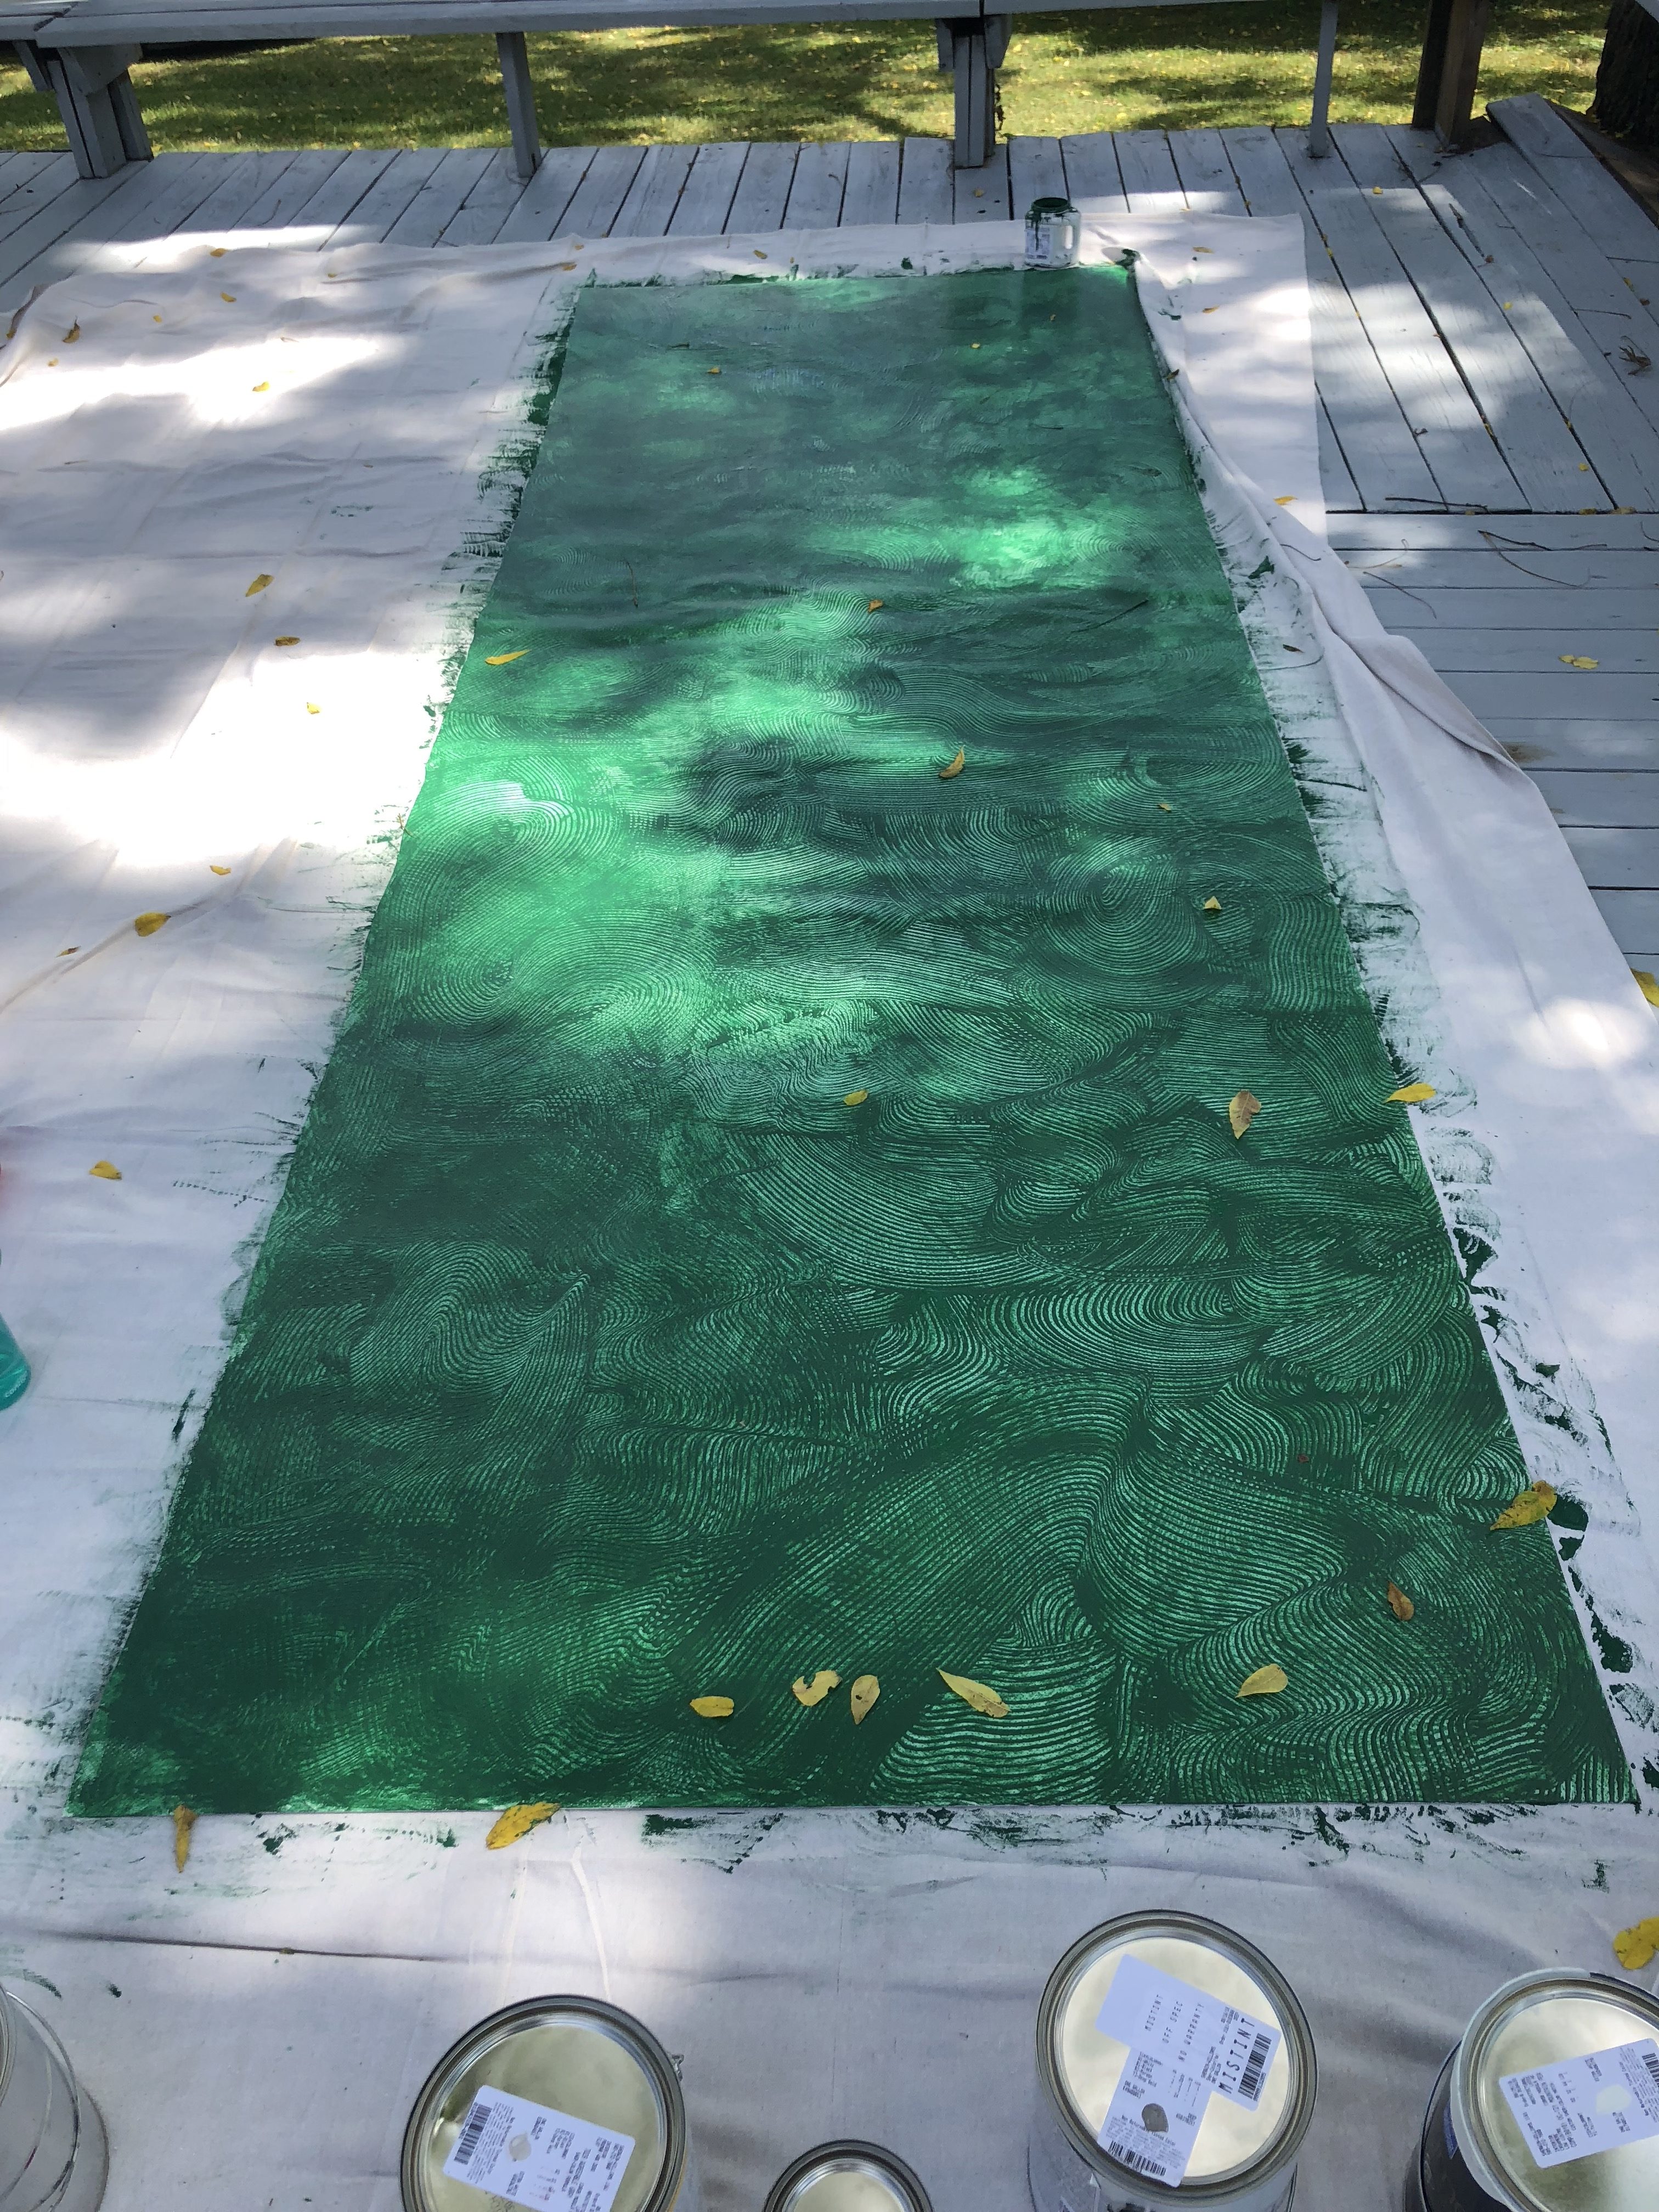
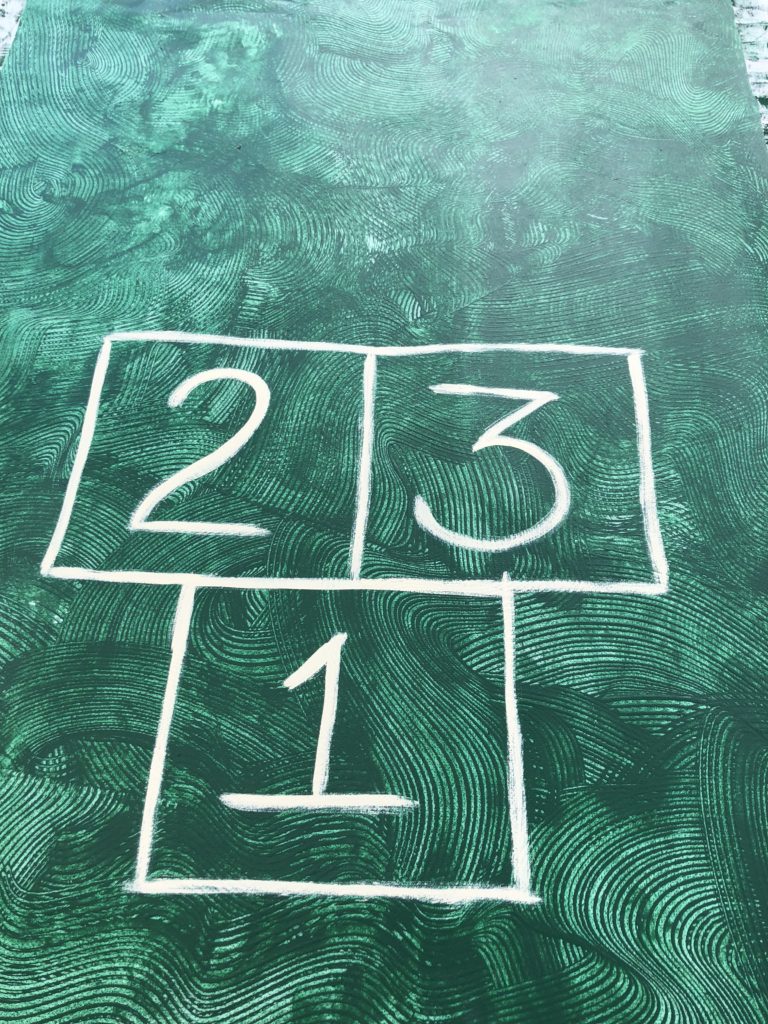
Below is the base all painted with textured with a squeegee. To make my texturizing tool I purchased the cheapest squeegee I could find on short notice and went along cutting teeth in the rubber fin. I did not take care to make the teeth the same, my goal was simply to give the large mat some depth. I think it turned out awesome!
Step 3: The Hopscotch Board
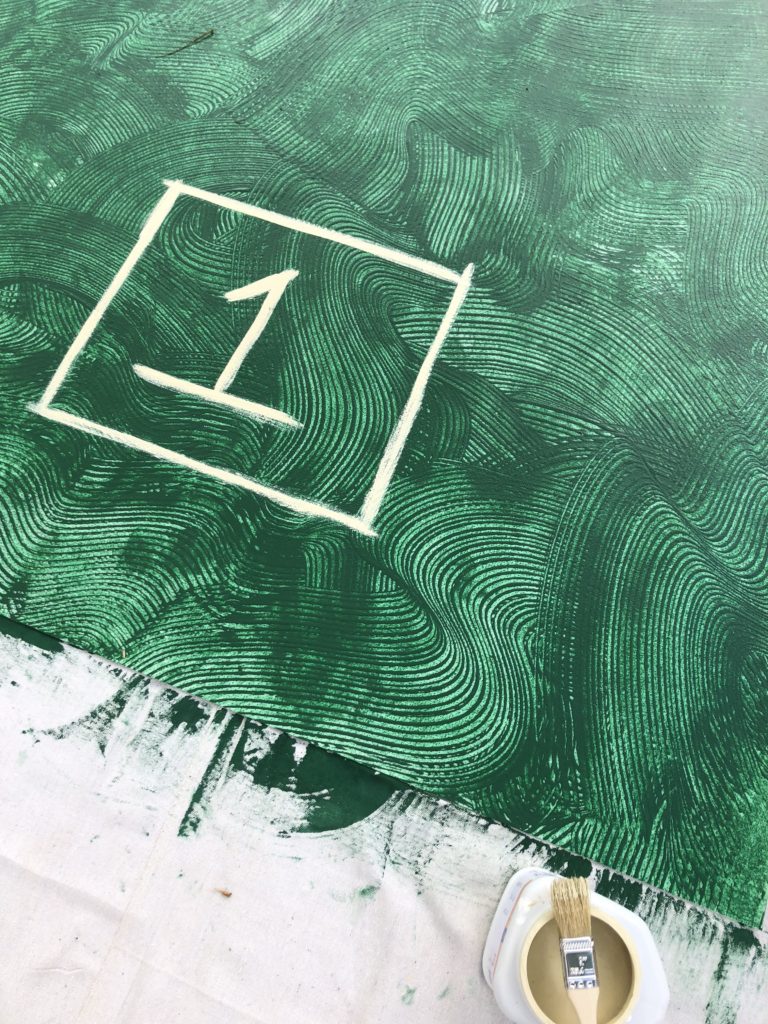
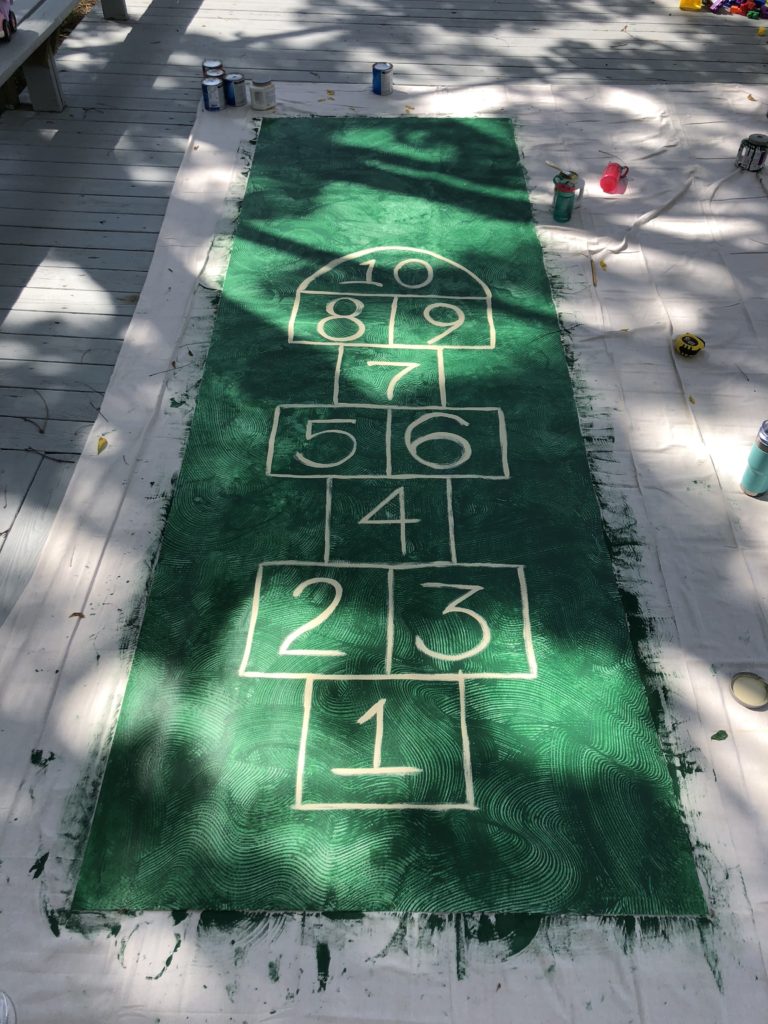
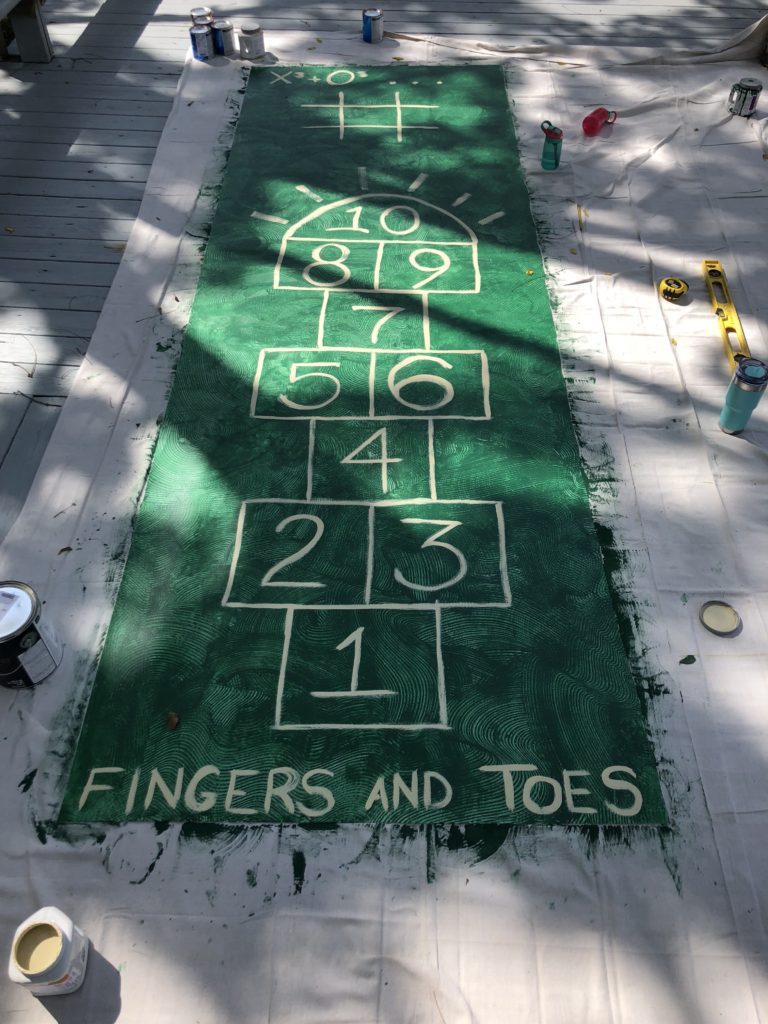
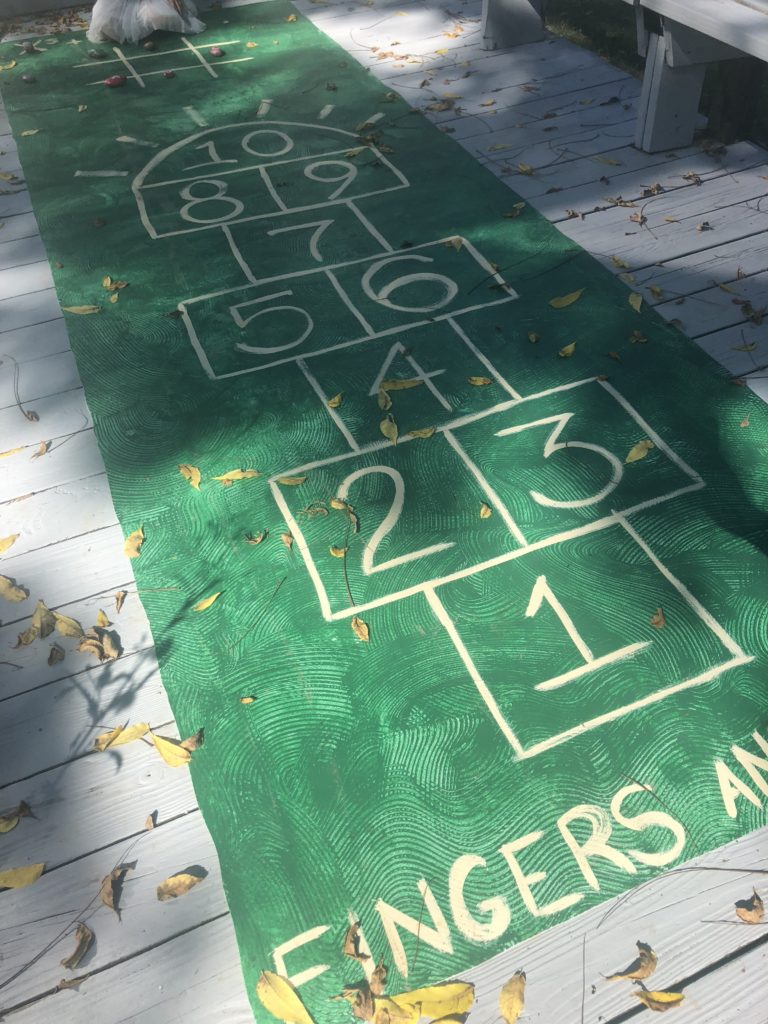
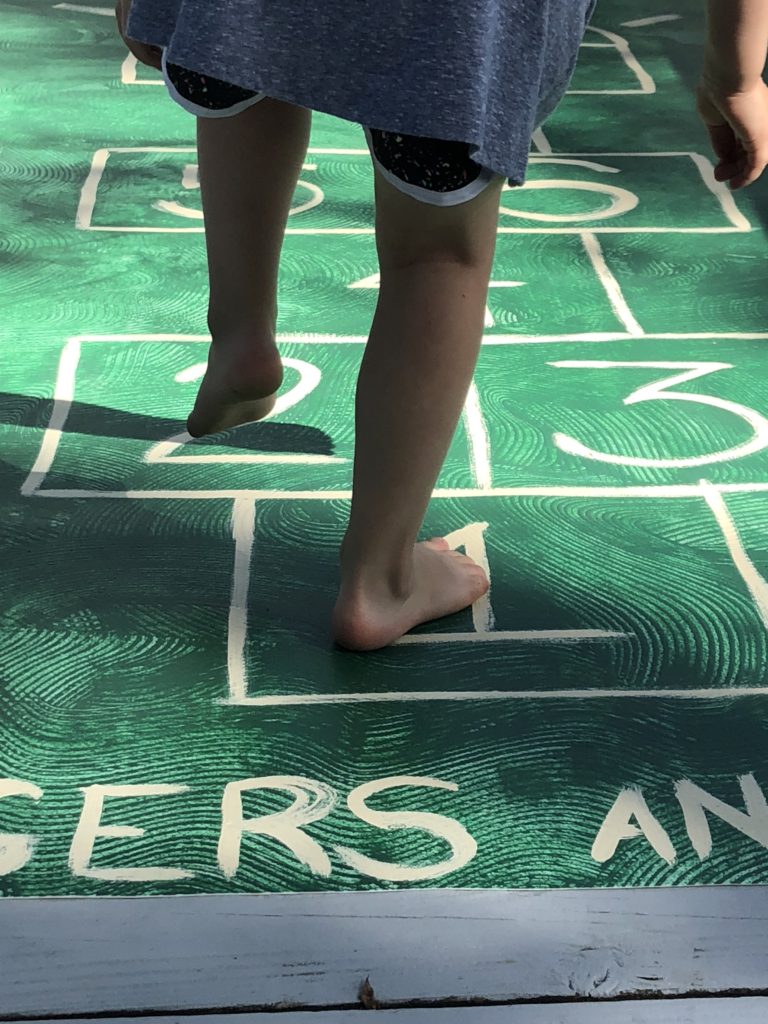
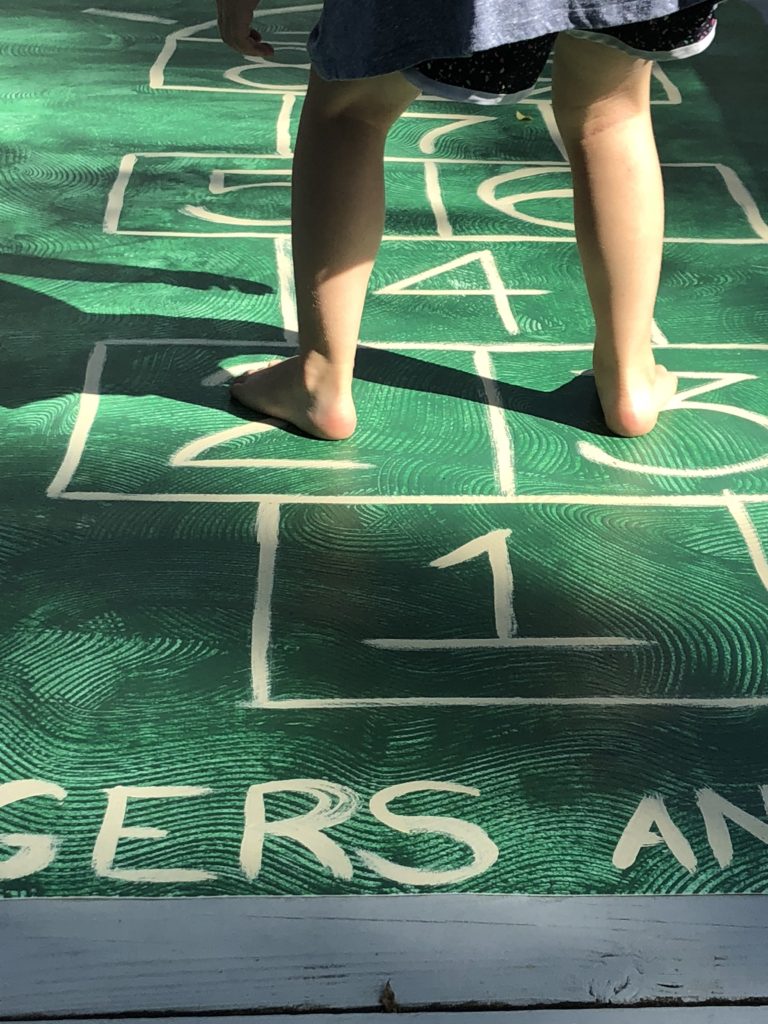
According to the sportsknowhow.com there is a regulation size hopscotch board. Measuring it out it appeared little large for my minis so I condensed the size a bit. Our boxes are about 12″ high and 13″ wide and my 3 year old is able to jump them yet still has room to grow.
I measured out the corners for each box and then painted it freehand….because I like the imperfection. If you wanted a more polishes look you could tape out the lines before painting.
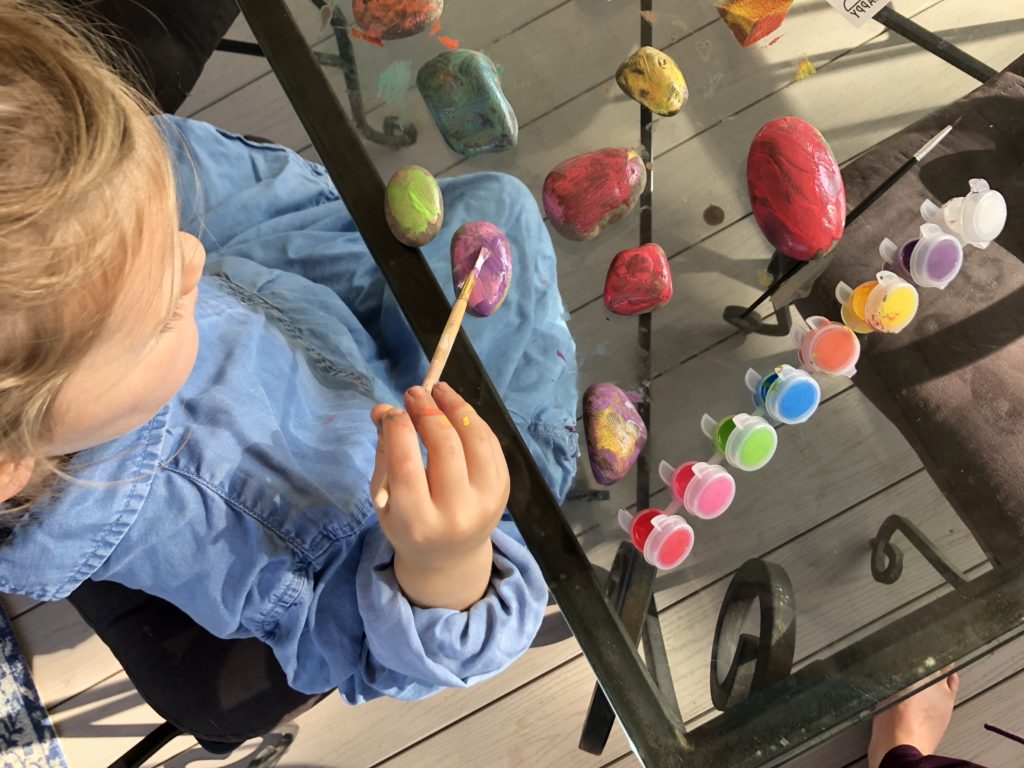
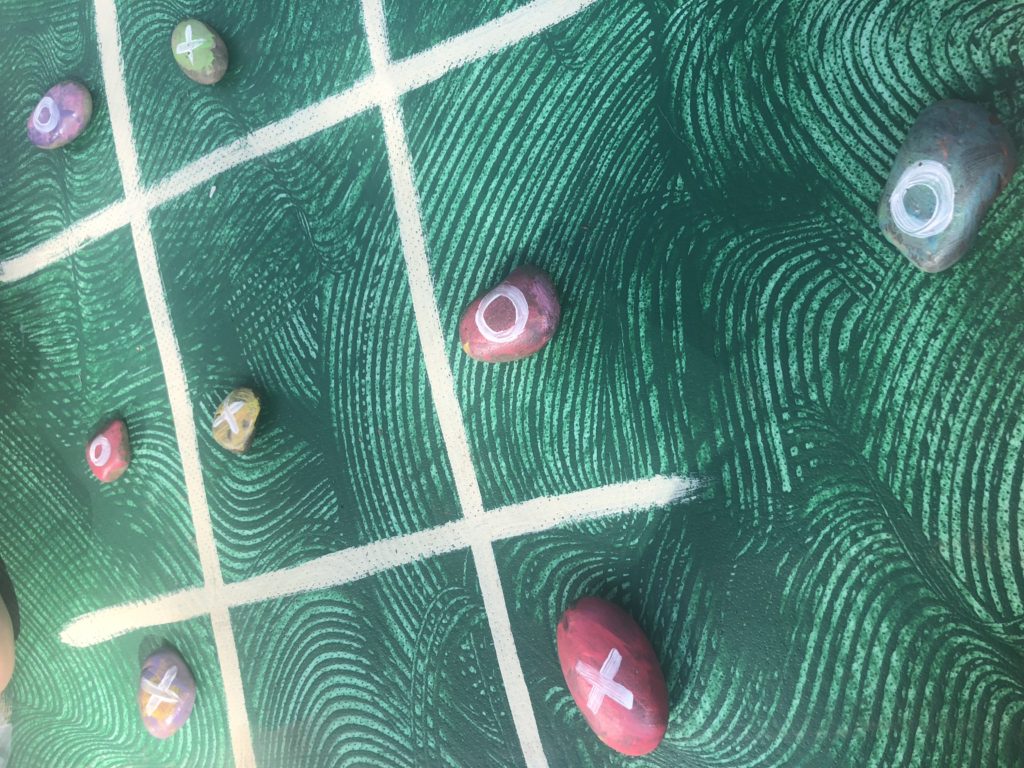
There was room left at the top so we painted a tic-tac-toe board. My older daughter had just received a rock painting gift set so she painted the rocks and I added x’s and o’s to use as game pieces.
Seal it!
We topped off the hopscotch mat with a porch paint. Here is an interesting tidbit- untainted deep base paint is exactly that- untinted. It dries with a clear, although slightly hazy finish and I love the look. Hopefully it holds up but I will be sure to let you know.
Side note: The first coat of the porch paint seemed to stay tacky and I was very concerned. I applied the second coat anyway and it dried quickly and with no tack.
What do you think?
Even if it doesn’t I could imagine this being a fun spring project each year.
I love this, and the girls are always so excited to use it. Although we are using this on our deck you could easily make this for inside as well.
[ctct form=”4″]
Supplies used in this Project:


