The Shoddy Cottage (Part 1)
A number of years ago we bought this great little rental house near a major university. Well it turns out it wasn’t so great and I now refer to it as the Shoddy Cottage. This year we decided to tackle a major upgrade and renovation in the span 2 weeks- the gap between our old tenants and new tenants. See how this crazy project unfolded.
The Scoop
Built in the late 1920s as a summer cottage, the house is located on a dead-end street that overlooks the river. Ages ago the wealthy who lived downtown would vacation on the river and this often-forgotten dead-end street contained their summer “homes.” Owners slowly converted them to year-round living with ad-hoc heating, plumbing, and electrical. However much of the “improvements” over the years are DIY projects gone wrong.
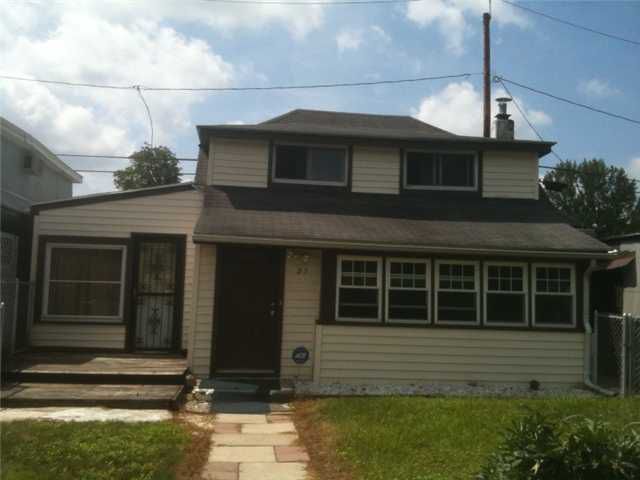
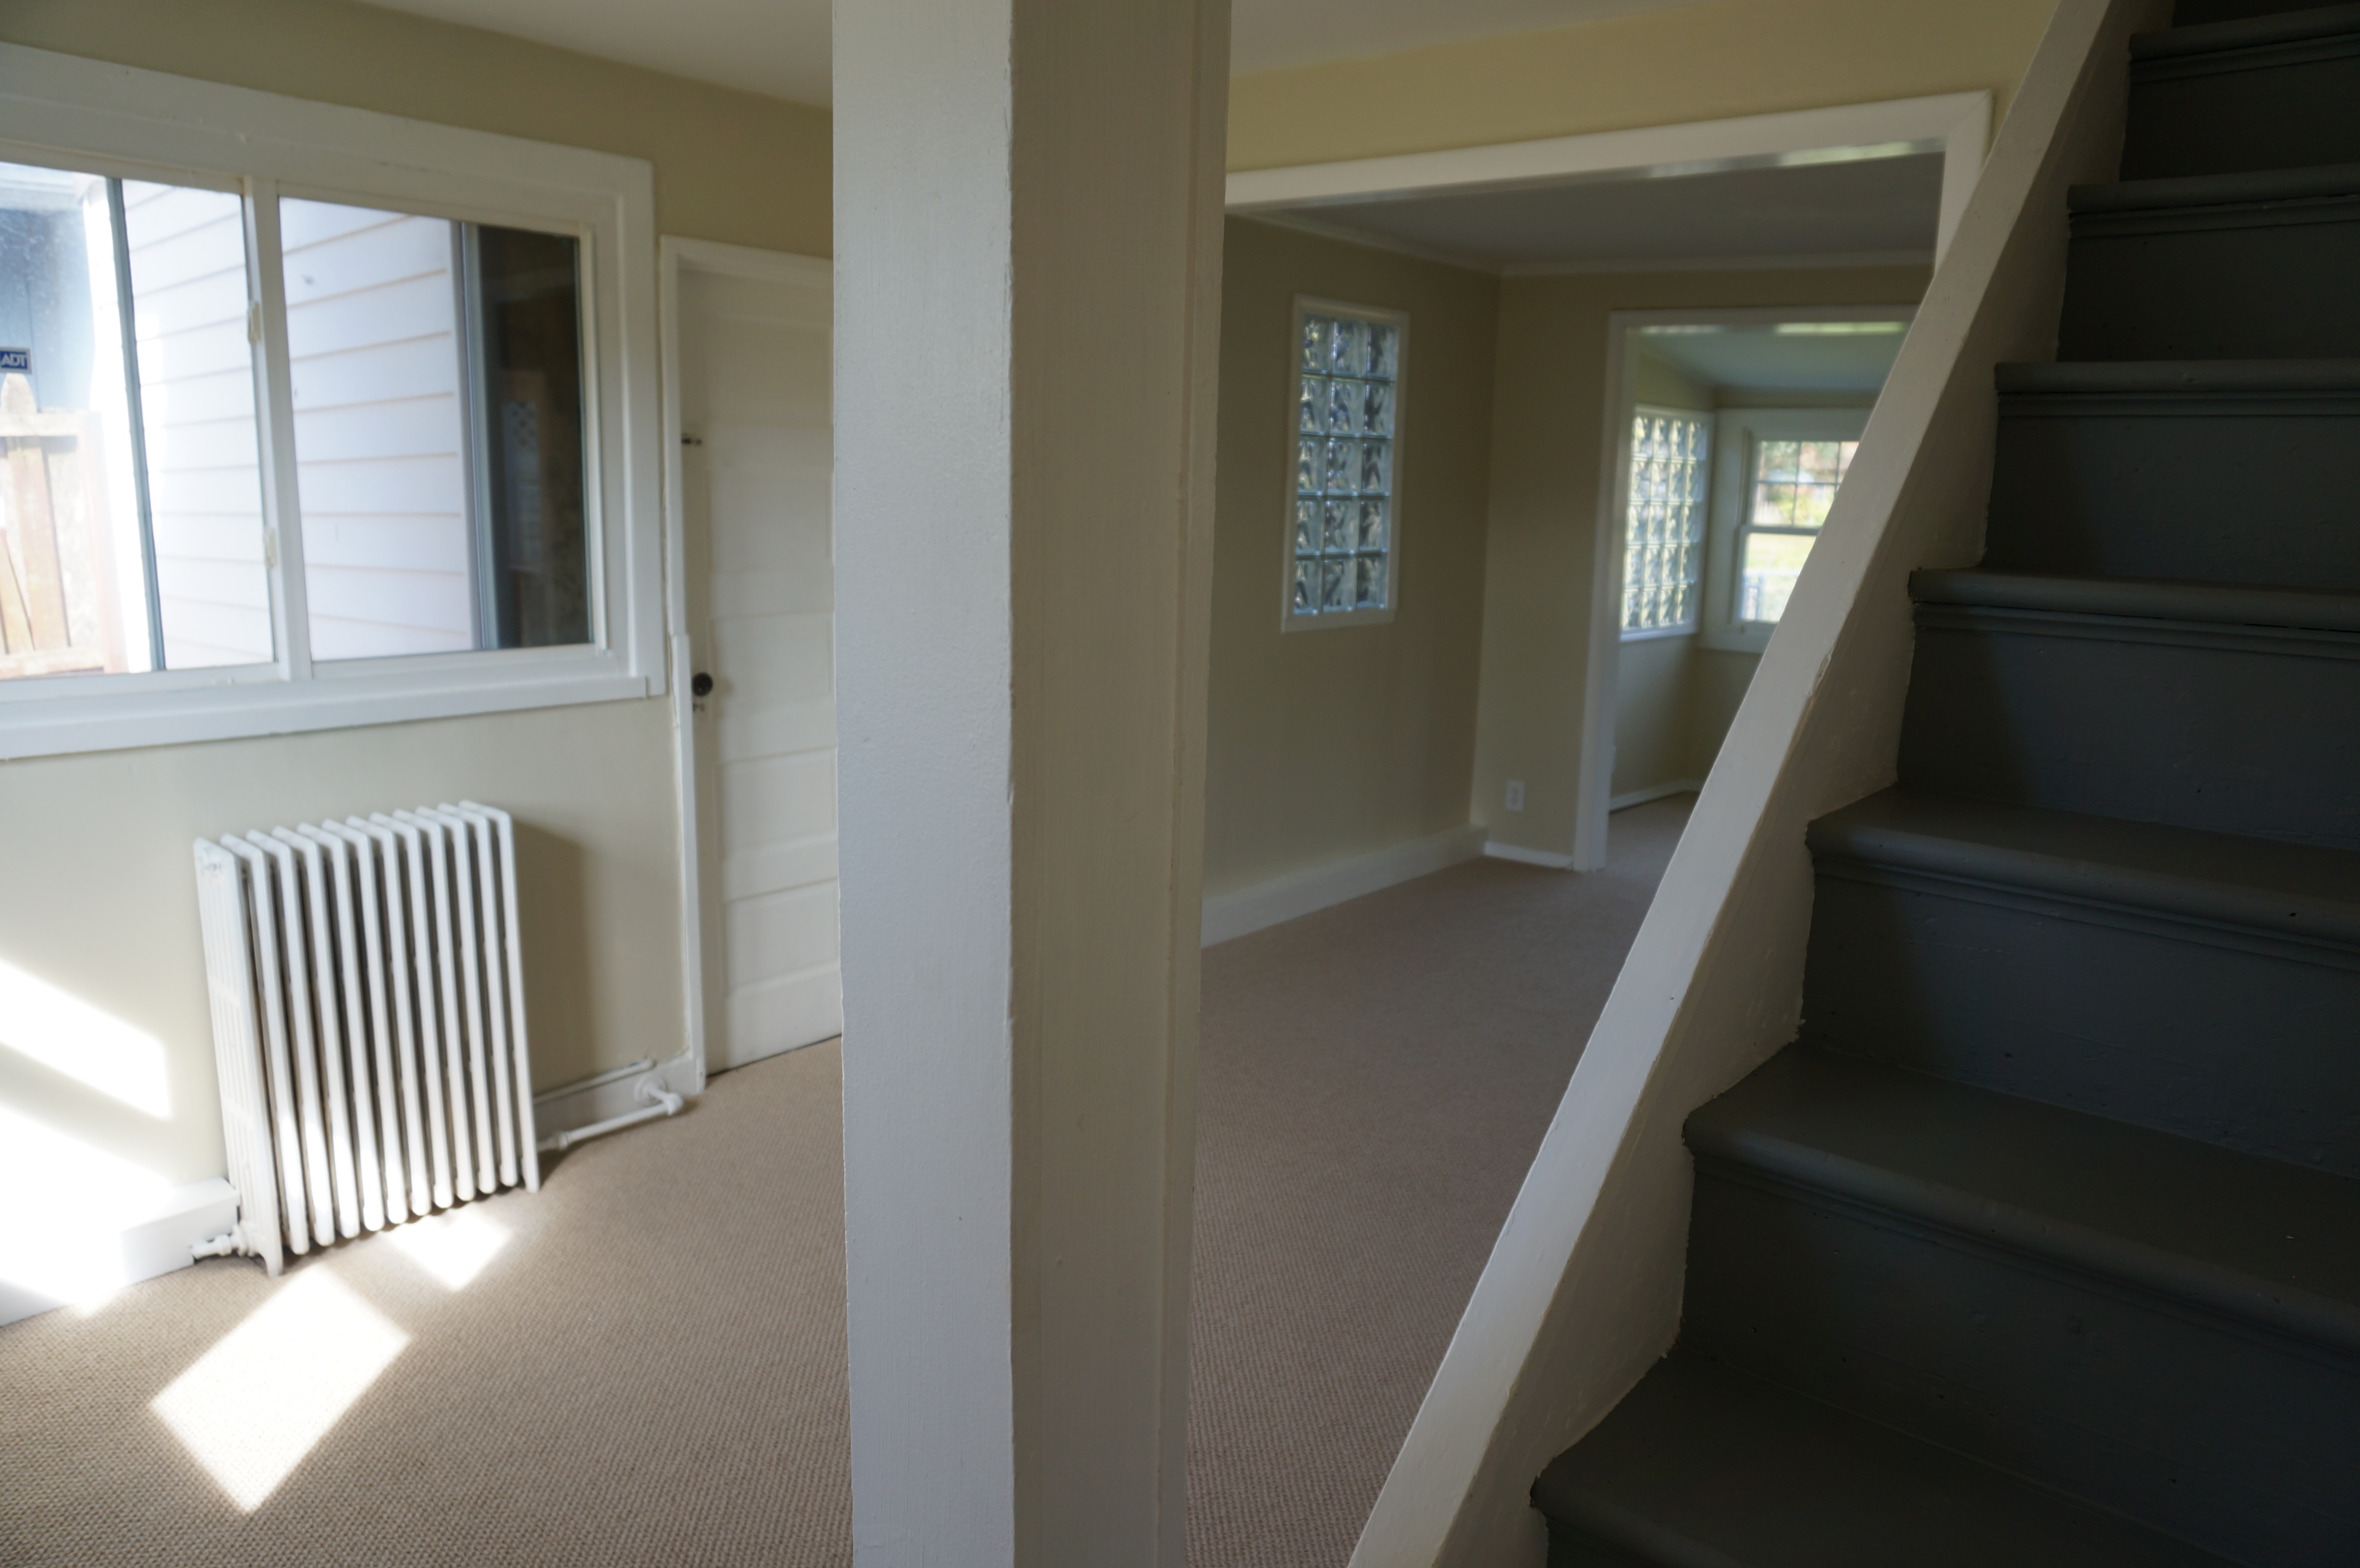
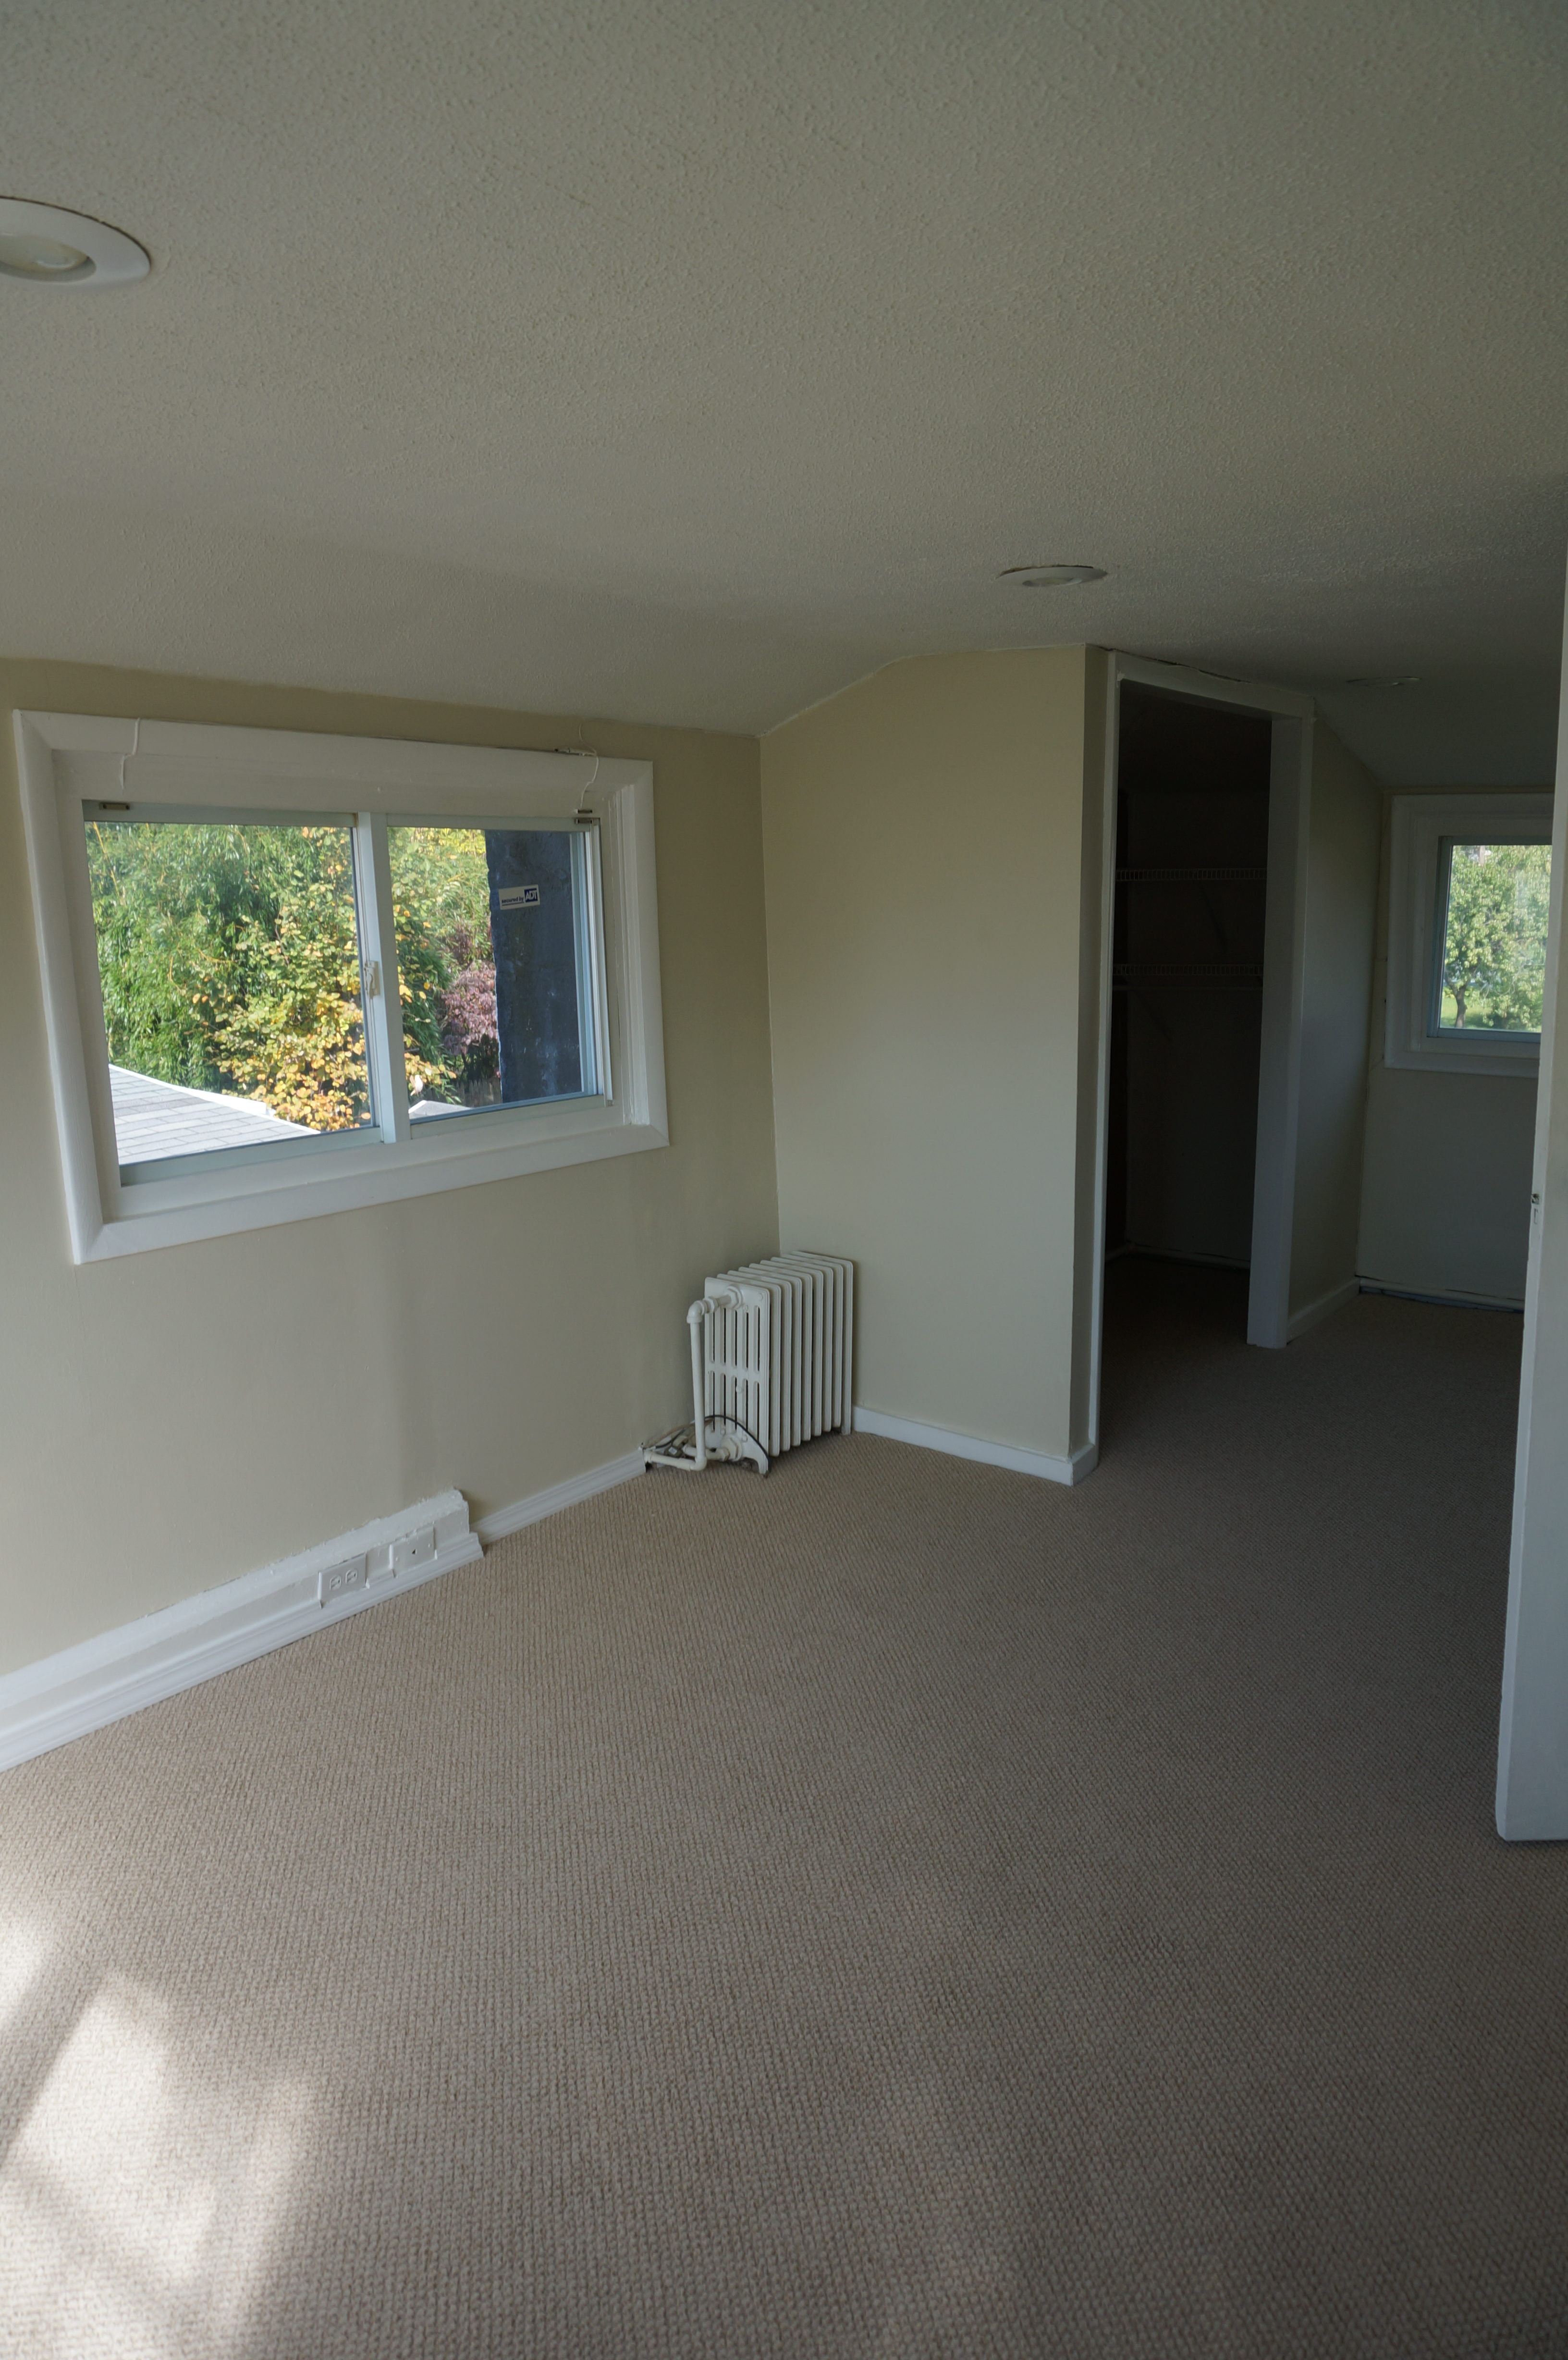
We purchased this little house about 5 years ago for about $33,000. It was, of course, very ugly. The former owners were lovely people but the house was dark, and the carpet was saturated with the smell of smoke. It was devoid of any characters other than being small. You can see it is a little sad, rather outdated and I am sure you all have a strong appreciation for the classic 1980s color combination that will always look dirty even when clean.
We loved the proximity to the university. In addition to your standard undergraduate tenant the large university offers a near constant pool of prospective tenants between researchers, visiting professors, graduate students, and employees at the medical center. This neighborhood is a hot rental market and a dream for landlords- buy low rent (relatively) high.
5 Years Ago…
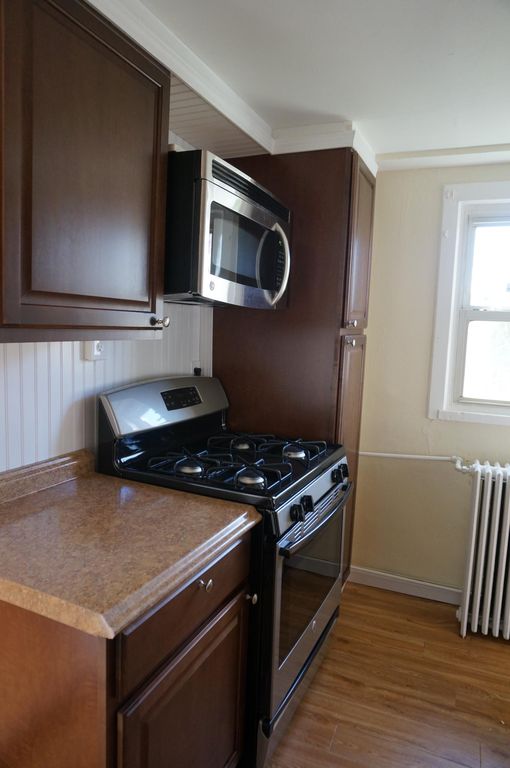
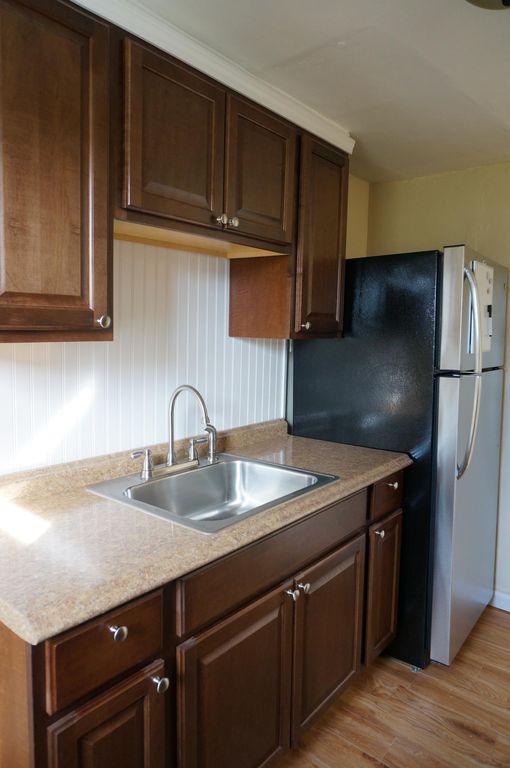
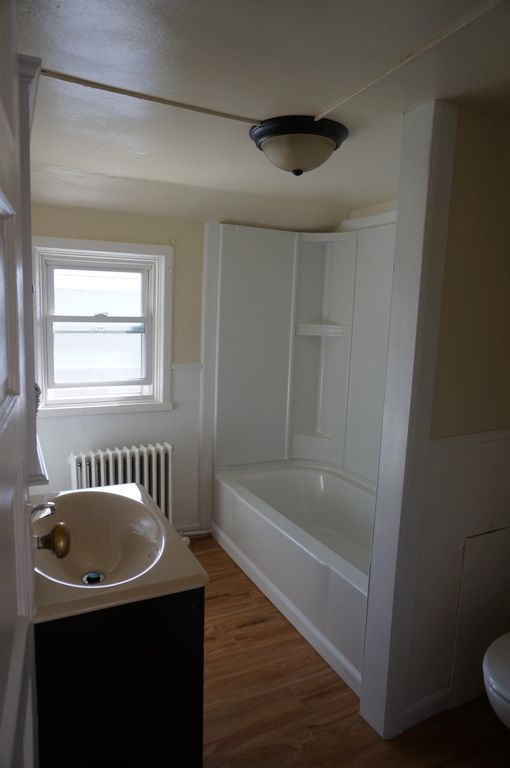
Despite the cosmetic challenges we thought the house had a number of good things going for it- fenced yard, dead-end street, all the plumbing was above grade in these chases around the perimeter of the rooms. The house is sided and most of the windows were replacement windows which tenants like. So we quickly ripped out the carpet, painted the walls, and threw in some stock big box store cabinets. Here is how it looked:
Looks decent, right? Well, I must be a pretty good photographer because these pictures make the kitchen look spacious and bright and the bathroom so crisp and clean…it was not.
The place was easy to rent but through the years I recognized there was more work that needed to be done. It turns out our good investment, wasn’t.
Problems:
- Galvanized pipes limited the water pressure, especially the hot
- The boiler was ancient, radiators the wrong size, and the supply pipes were run kind of crazy
- The kitchen ceiling looked terrible and turns out was hiding some really questionable electrical
- There was no access to the (very small) back portion of the property.
- The washing machine is in the dining room
- Access to the kitchen was awkward
- The bonus space was rarely used and could be converted to a third bedroom
- The house needed another bathroom and it needed to be on the 1st floor
- No bathroom fan so the moisture was making everything peel
- 5 different flooring materials throughout the tiny house
- The kitchen seemed to be getting darker and smaller every year
Challenges:
Remember some of those features we thought were great?
- It is always rented! Not a terrible problem to have except typically our tenants move out in August and new tenants move-in mid-August. That leaves us less than 2 weeks to make any major repairs.
- The house floor and framing is built over a poured concrete slab making any changes or repairs difficult
- The walls are made of cement and wire mesh, a nightmare
- The utility room is very small so switching out the boiler or hot water tank meant both needed to be moved
- There is no basement and only a minuscule crawl space for an attic which limits how you can run new plumbing or electrical
- There is a sloped and complicated roof which will be annoying to replace and was probably why there was no bathroom fan
- The ceilings upstairs are only about 6’8″
The Solution:
It was time to do what we should have from the beginning; fix all the mechanical issues and alter the layout to something more natural. We also needed to seize the hidden value and make the bonus room a studio apartment with a door to the main house- then the house can be rented as a two bedroom and studio or a 3 bedroom.
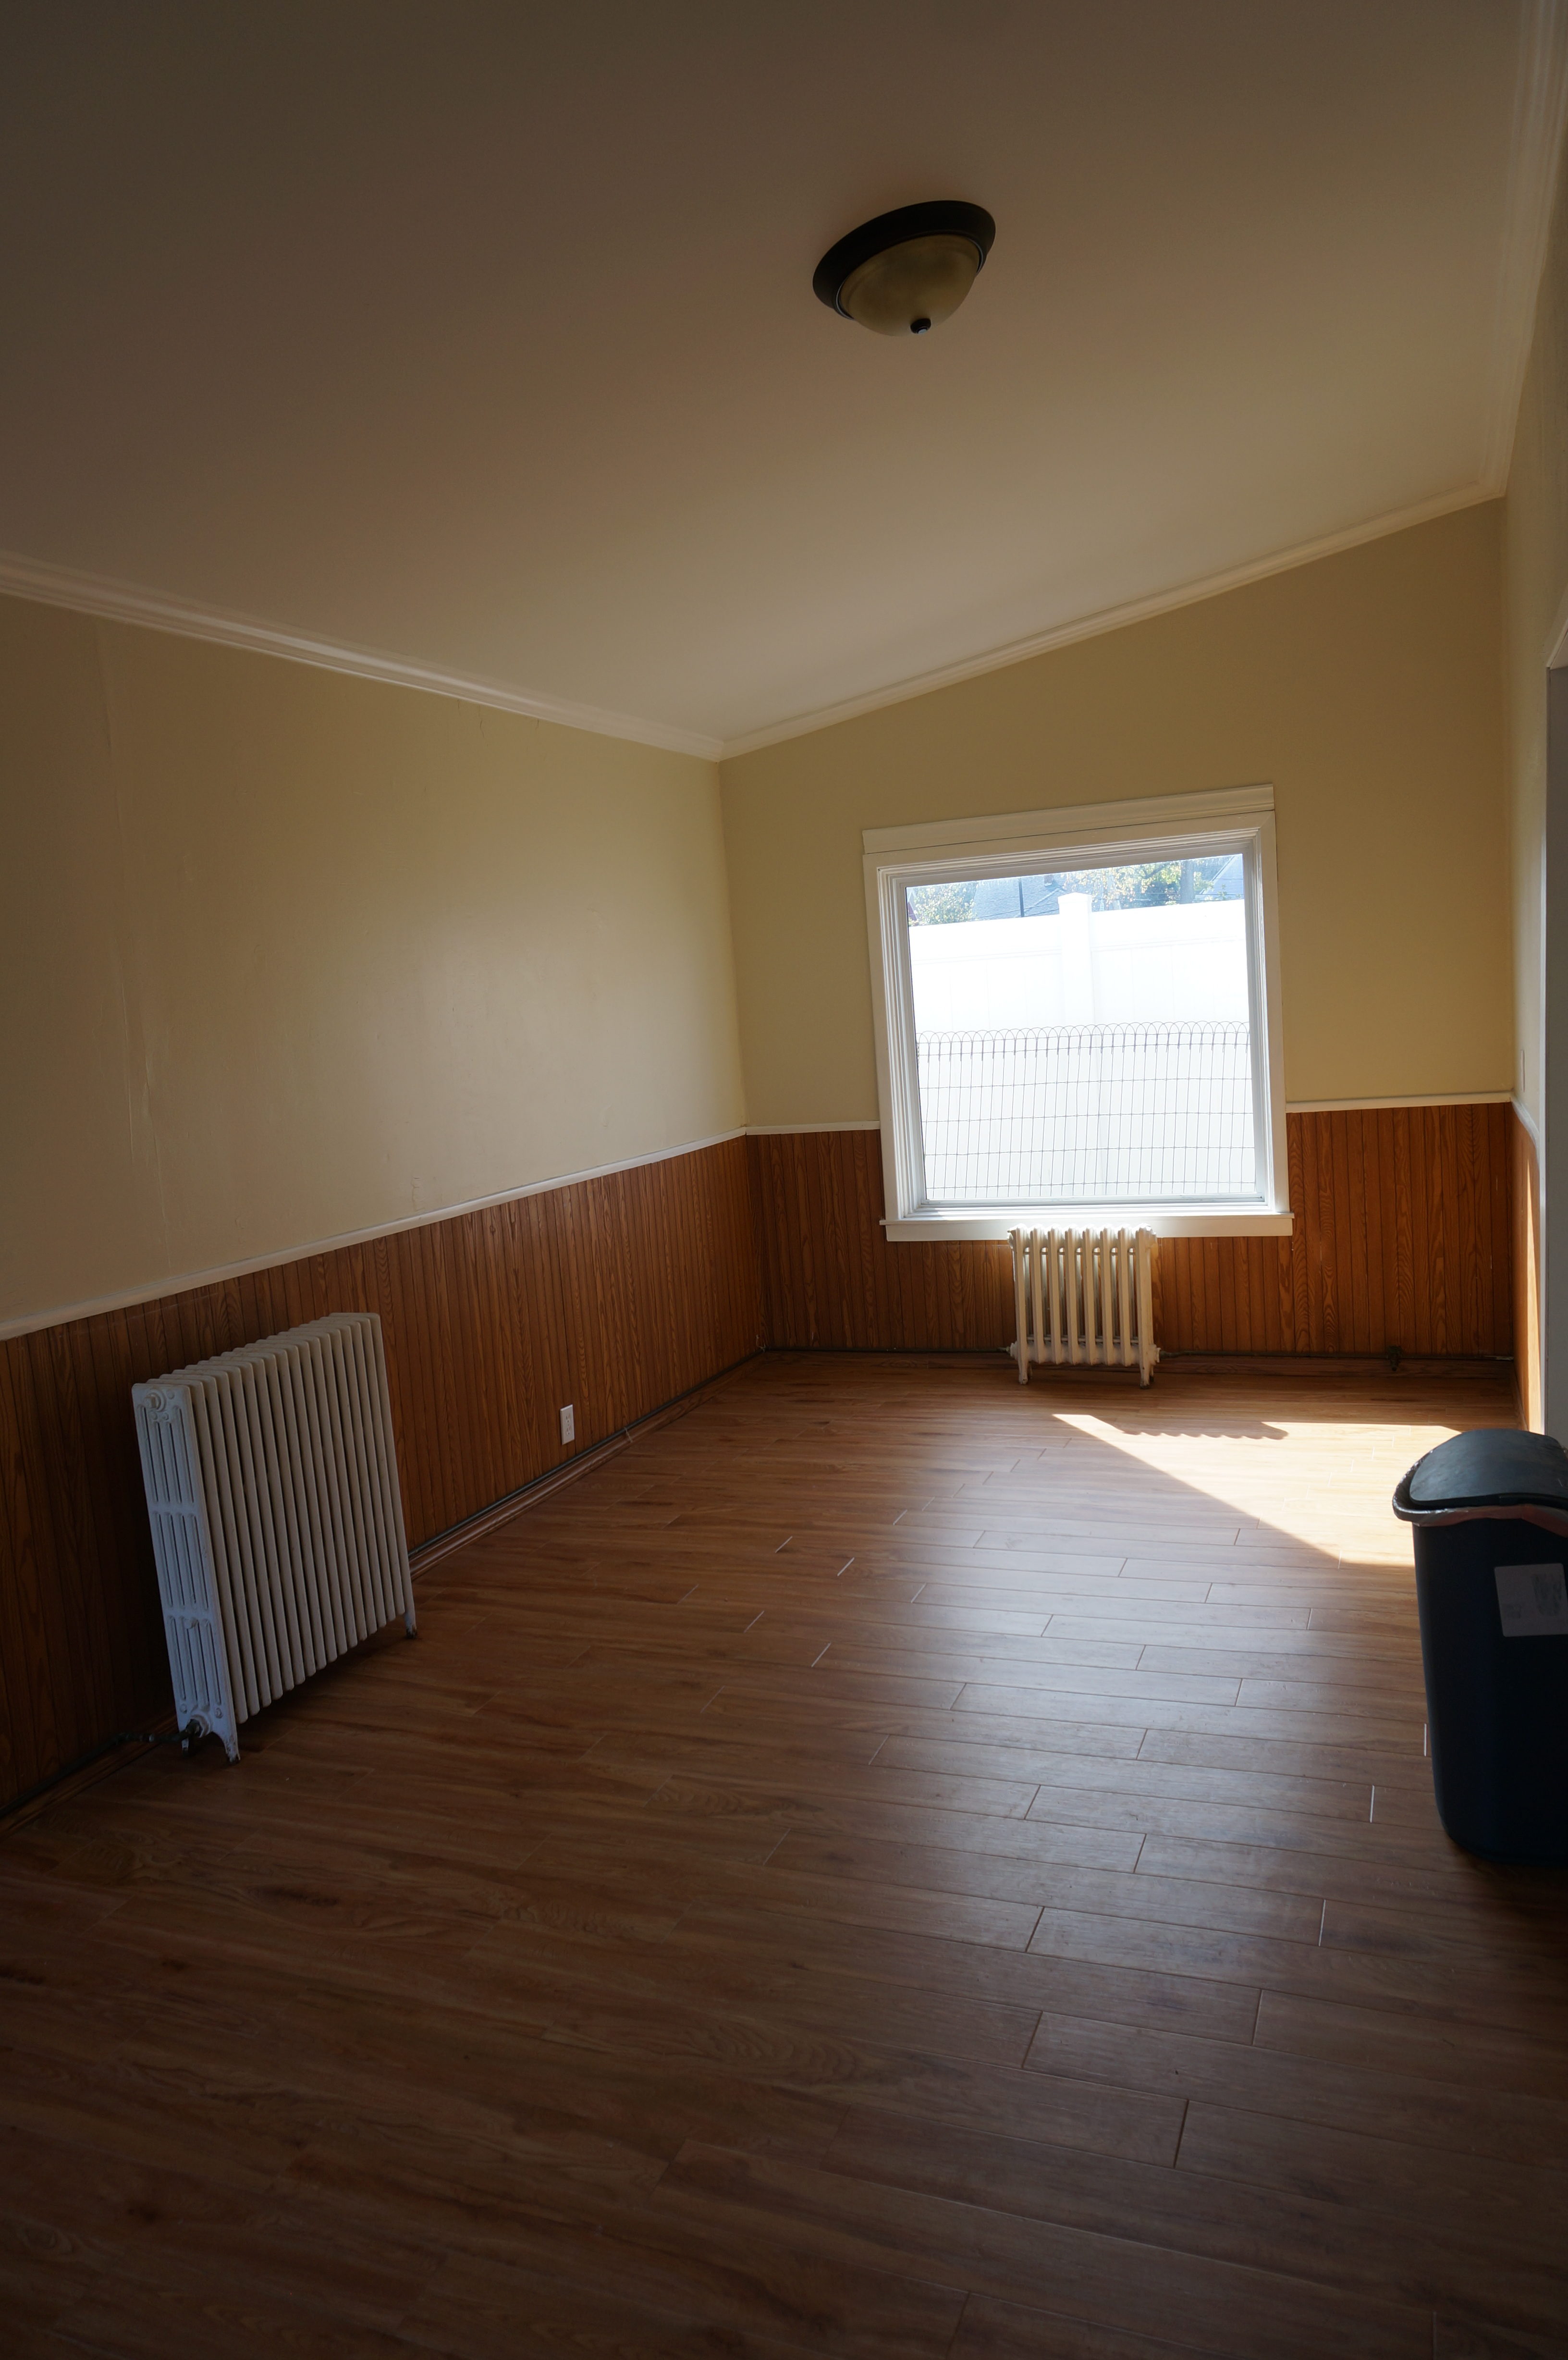
To make the studio we needed to:
- Rip out part of the floor and cut the concrete to lay the pipe for the bathroom and kitchenette
- Pull out the kitchen ceiling to run all new water lines and chuck the galvanized pipes
- Pull out crazy plumbing for the old boiler and replace it with forced air (option for AC at a later date)
- Clean up the electrical
Since we were doing all that I figured we should just bite the bullet and do the rest of it:
- Swap out the cabinets for something brighter
- Replace the floors to make it consistent throughout the house
- Make a larger opening from the kitchen to the living room
- Add a back door to access the back of the property that was previously inaccessible
- Move the washer to utility room
- Paint everything
- Swap out the hot water tank for tankless heater (ouch!)
…all in two weeks. No problem, right?
Read part 2 and see how we tackled this project.
[ctct form=”4″]


